Category: Home Apothecary

  • Drink Feature: Rendezvous Tea Latte

    Drink Feature: Rendezvous Tea Latte

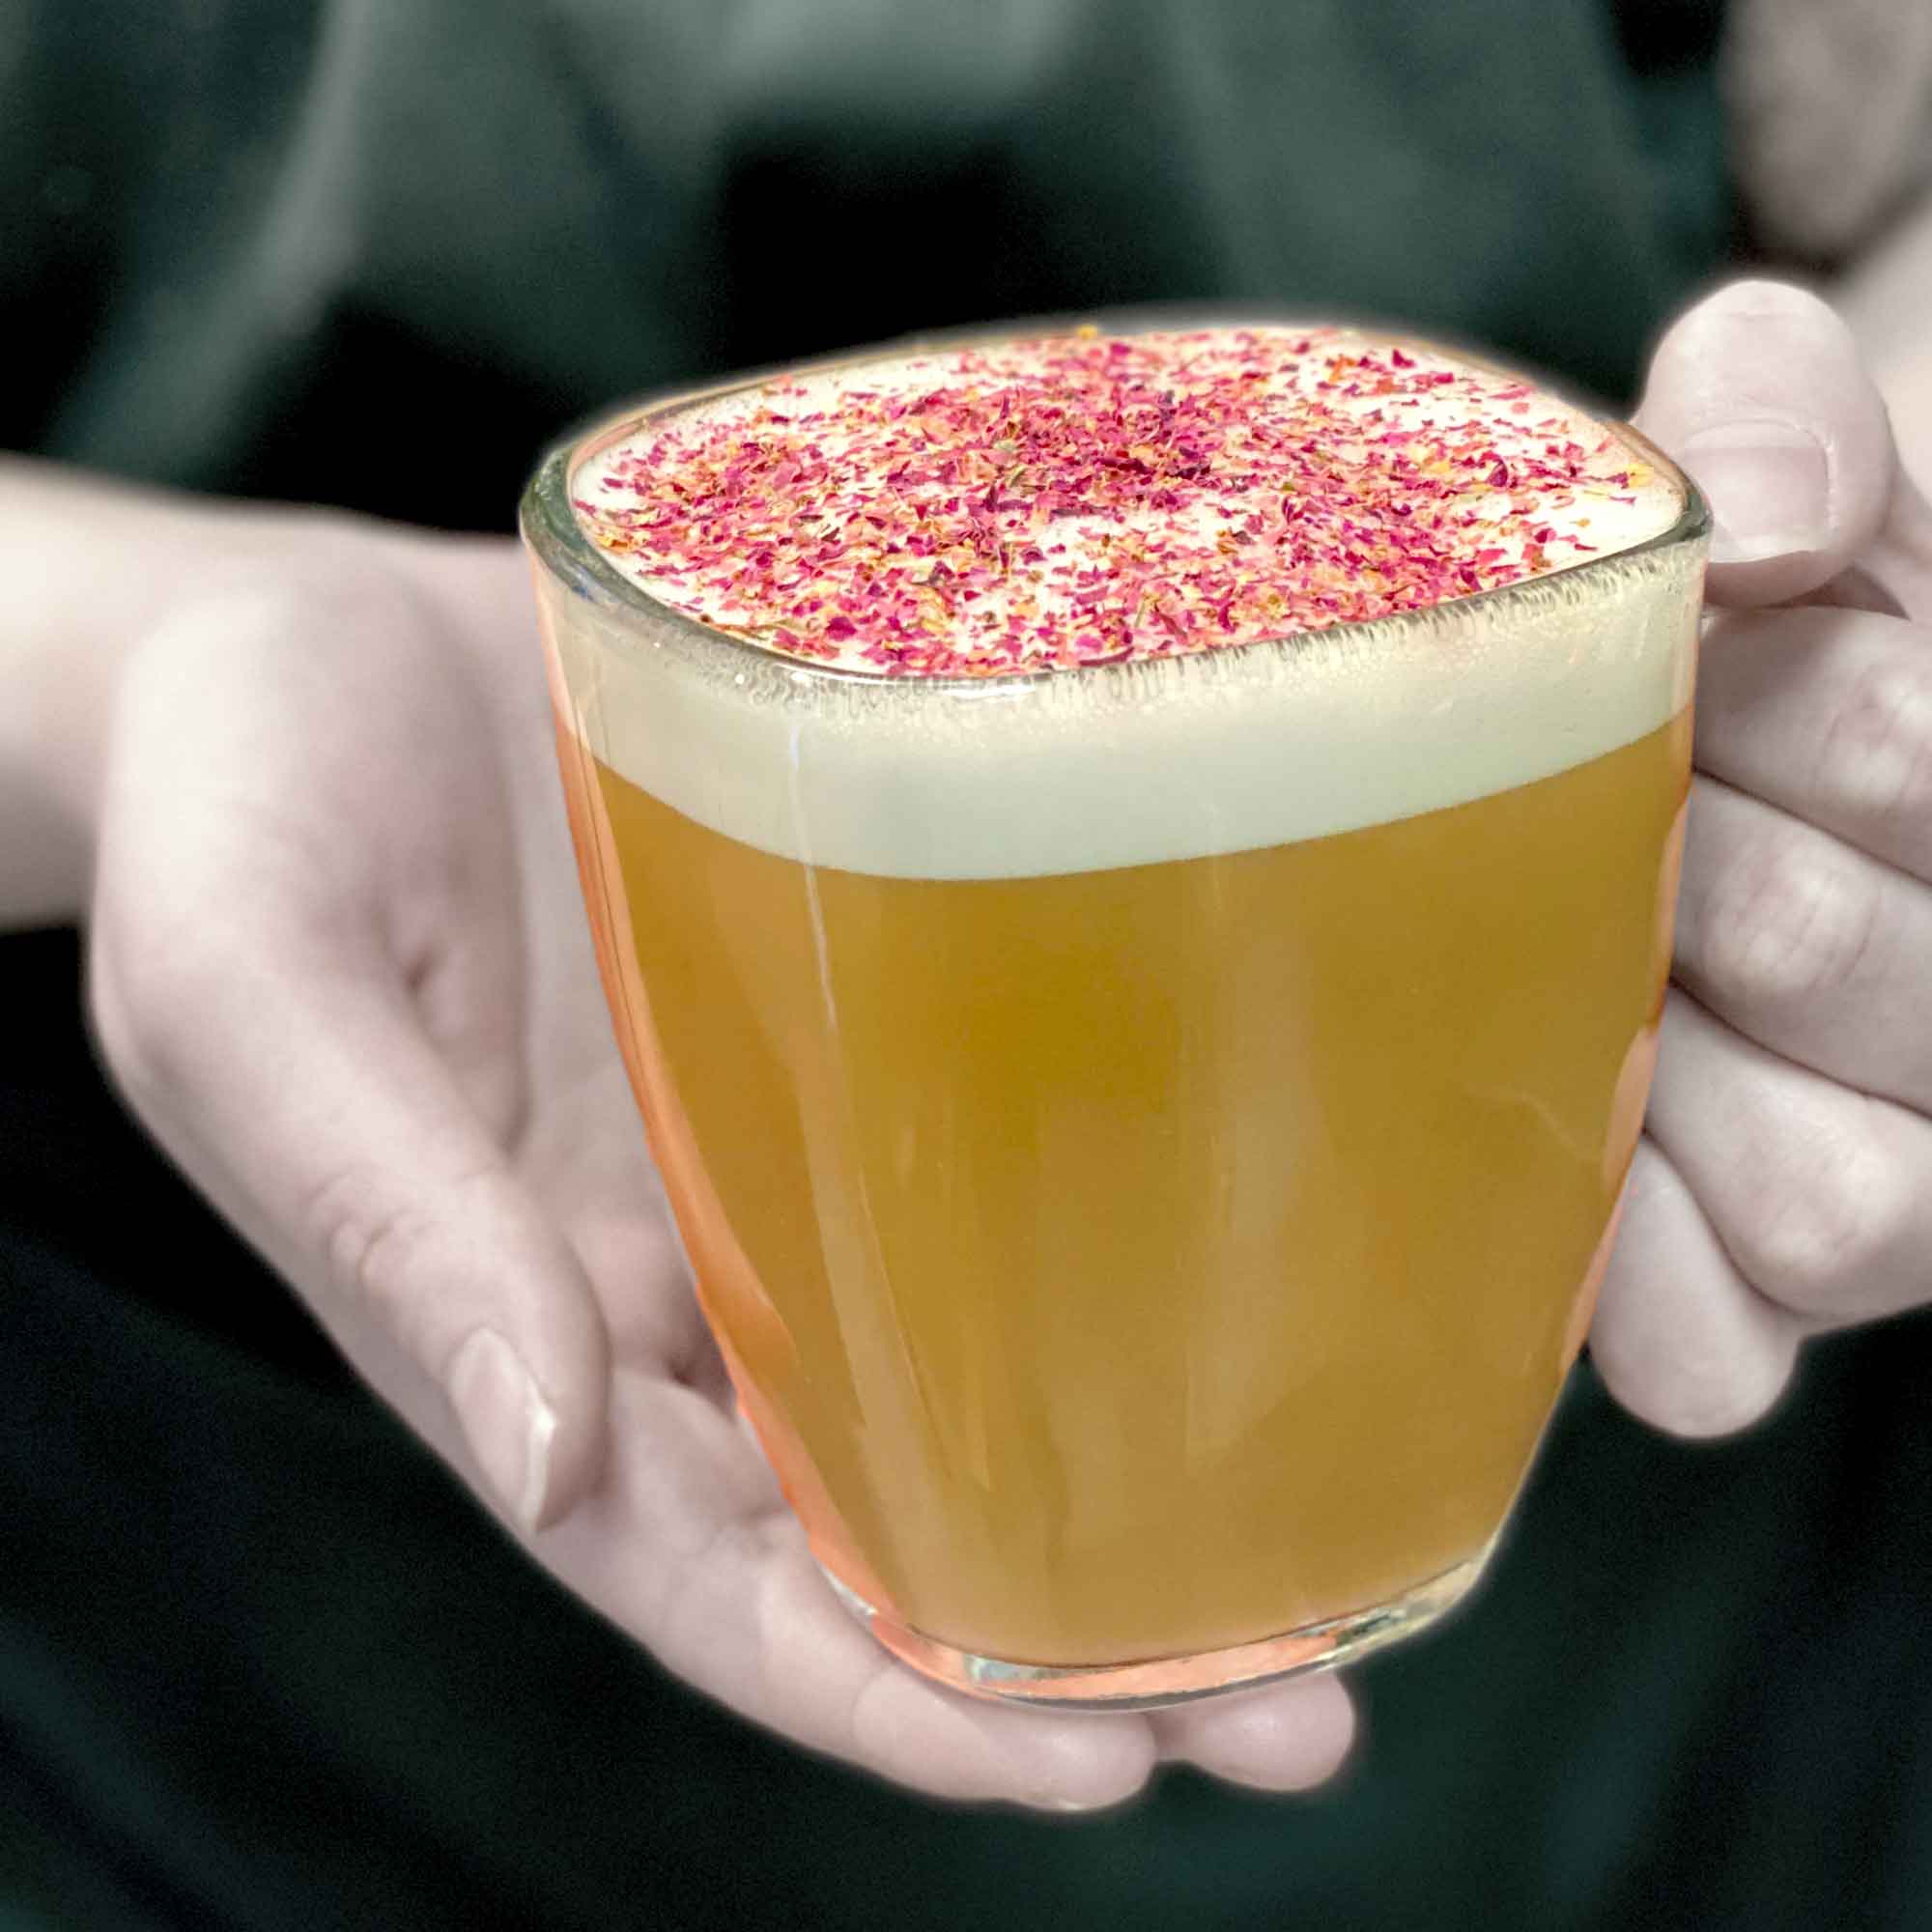
    What do you get when you mix our Twilight black tea, frothy milk, and a gourmet rose syrup? A rendezvous with pure delight!

    You can stop by the shop during the month of Febrauary to enjoy this decidant treat. Okay, okay, we know not all of you can make it to downtown Ames. Do not dispare, this is how you can enjoy it at home any time of the year!
    Ingredients

    Directions

    1. Bring your kettle up to a boil and steep 1T of Twlight in 4oz of water (about a 1/2 cup).
    2. In a small sauce pan, warm up 1 cup milk over medium-low heat.
    3. Once it the milk starts to steam, whisk. Make sure to not let it boil.
    4. The tea should be ready, strain the leaves or pull out your infuser.
    5. Add 1t – 1T Rose Syrup to tea and pour in milk.
    6. Dust with the crushed rose for added decidance.
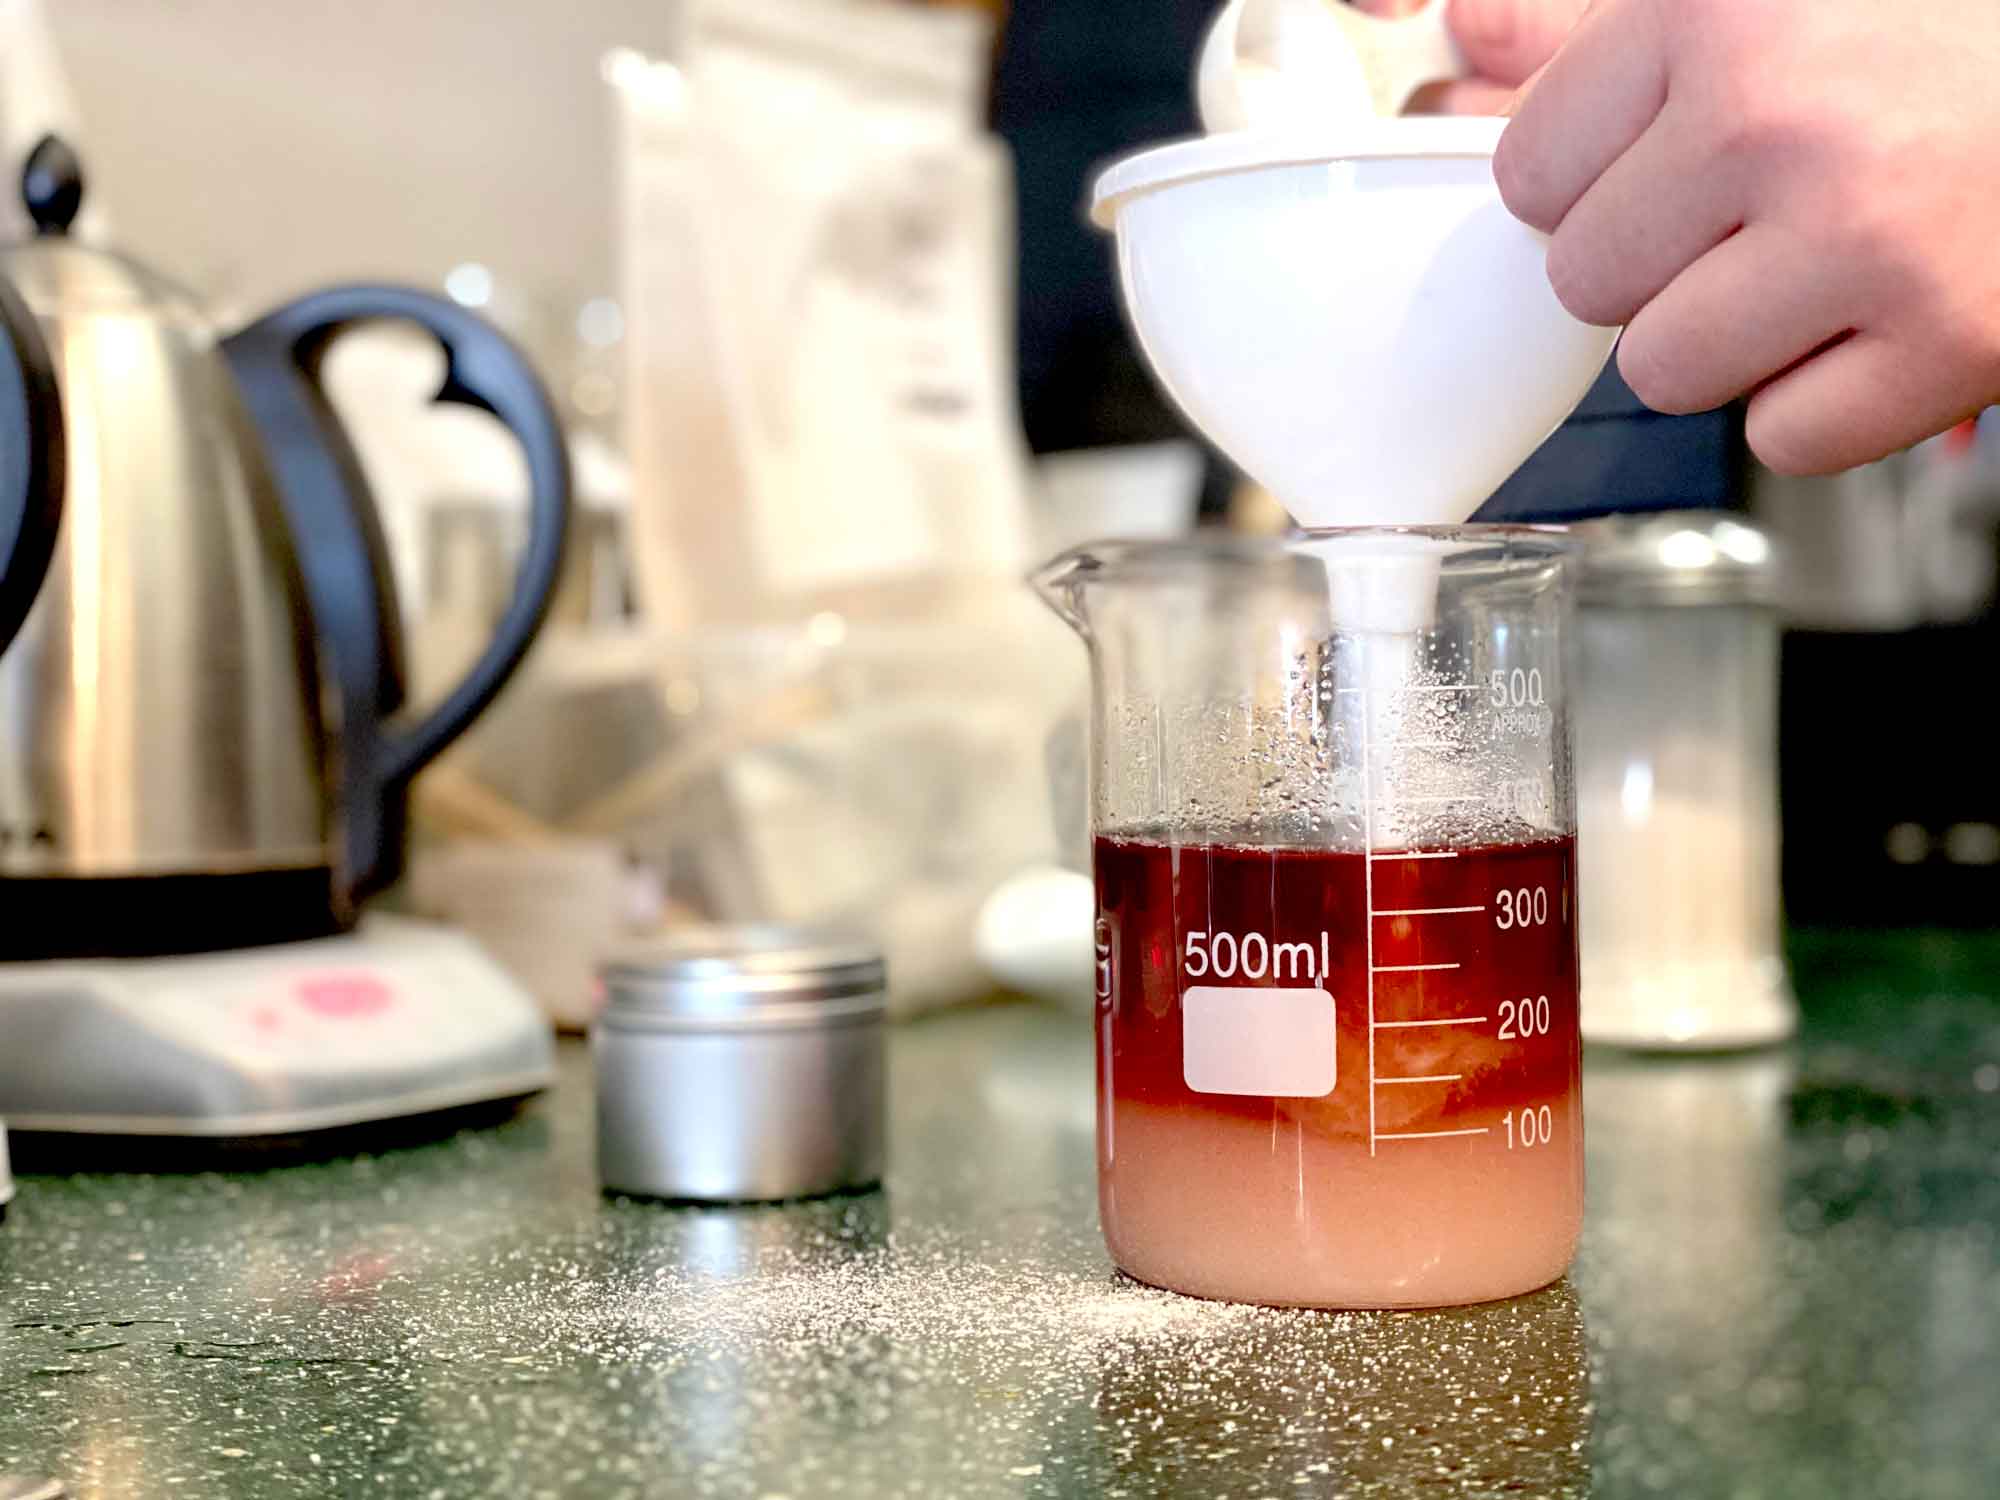
    Brianna making our rose simple syrup – want to make your own, get the kit here.

    Our Botanical Syrup Gift Box it makes for a great gift any time of year – it has our three favorite ingredients for making simple syrups: Rose, Hibiscus, and Cardamom (a key feature of our Chai Tea Latte).


    Already know how to make simple syrup and just need the rose? Grab it from our bulk section by the ounce to the pound.

    Until Next Time!
  • Recipe: Spiced Mulled Cider

    Recipe: Spiced Mulled Cider

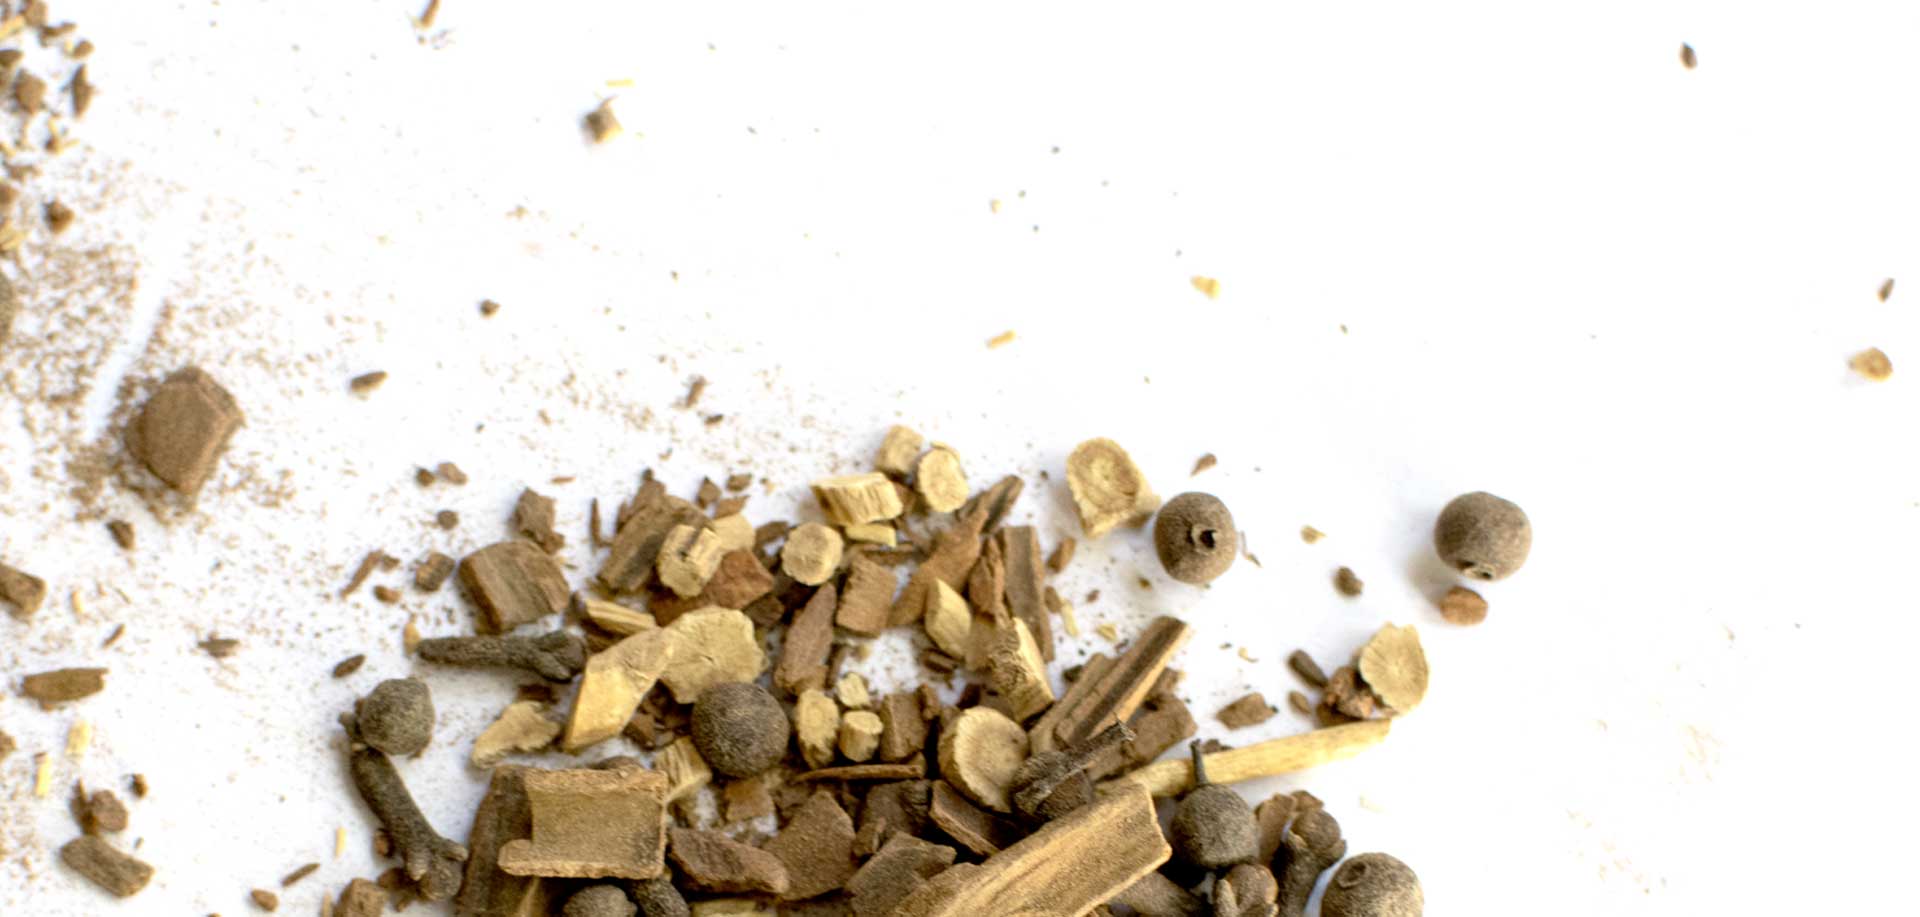
    Every autumn I look forward to a drink that is second only to tea: Spiced Cider! And living in Iowa we have quite a few apple orchards that sell their own delish locally grown apple cider so I have ample supply. There may be a few gallons that even make their way into my deep freeze to take out well past apple season.

    Since I was a kid I’ve loved it steamy and spiced. So after we opened the shop it only took one apple picking season for me to get on formulated my own special blend of herbalism inspired mulling spices.

    Spiced Cider by the Cup

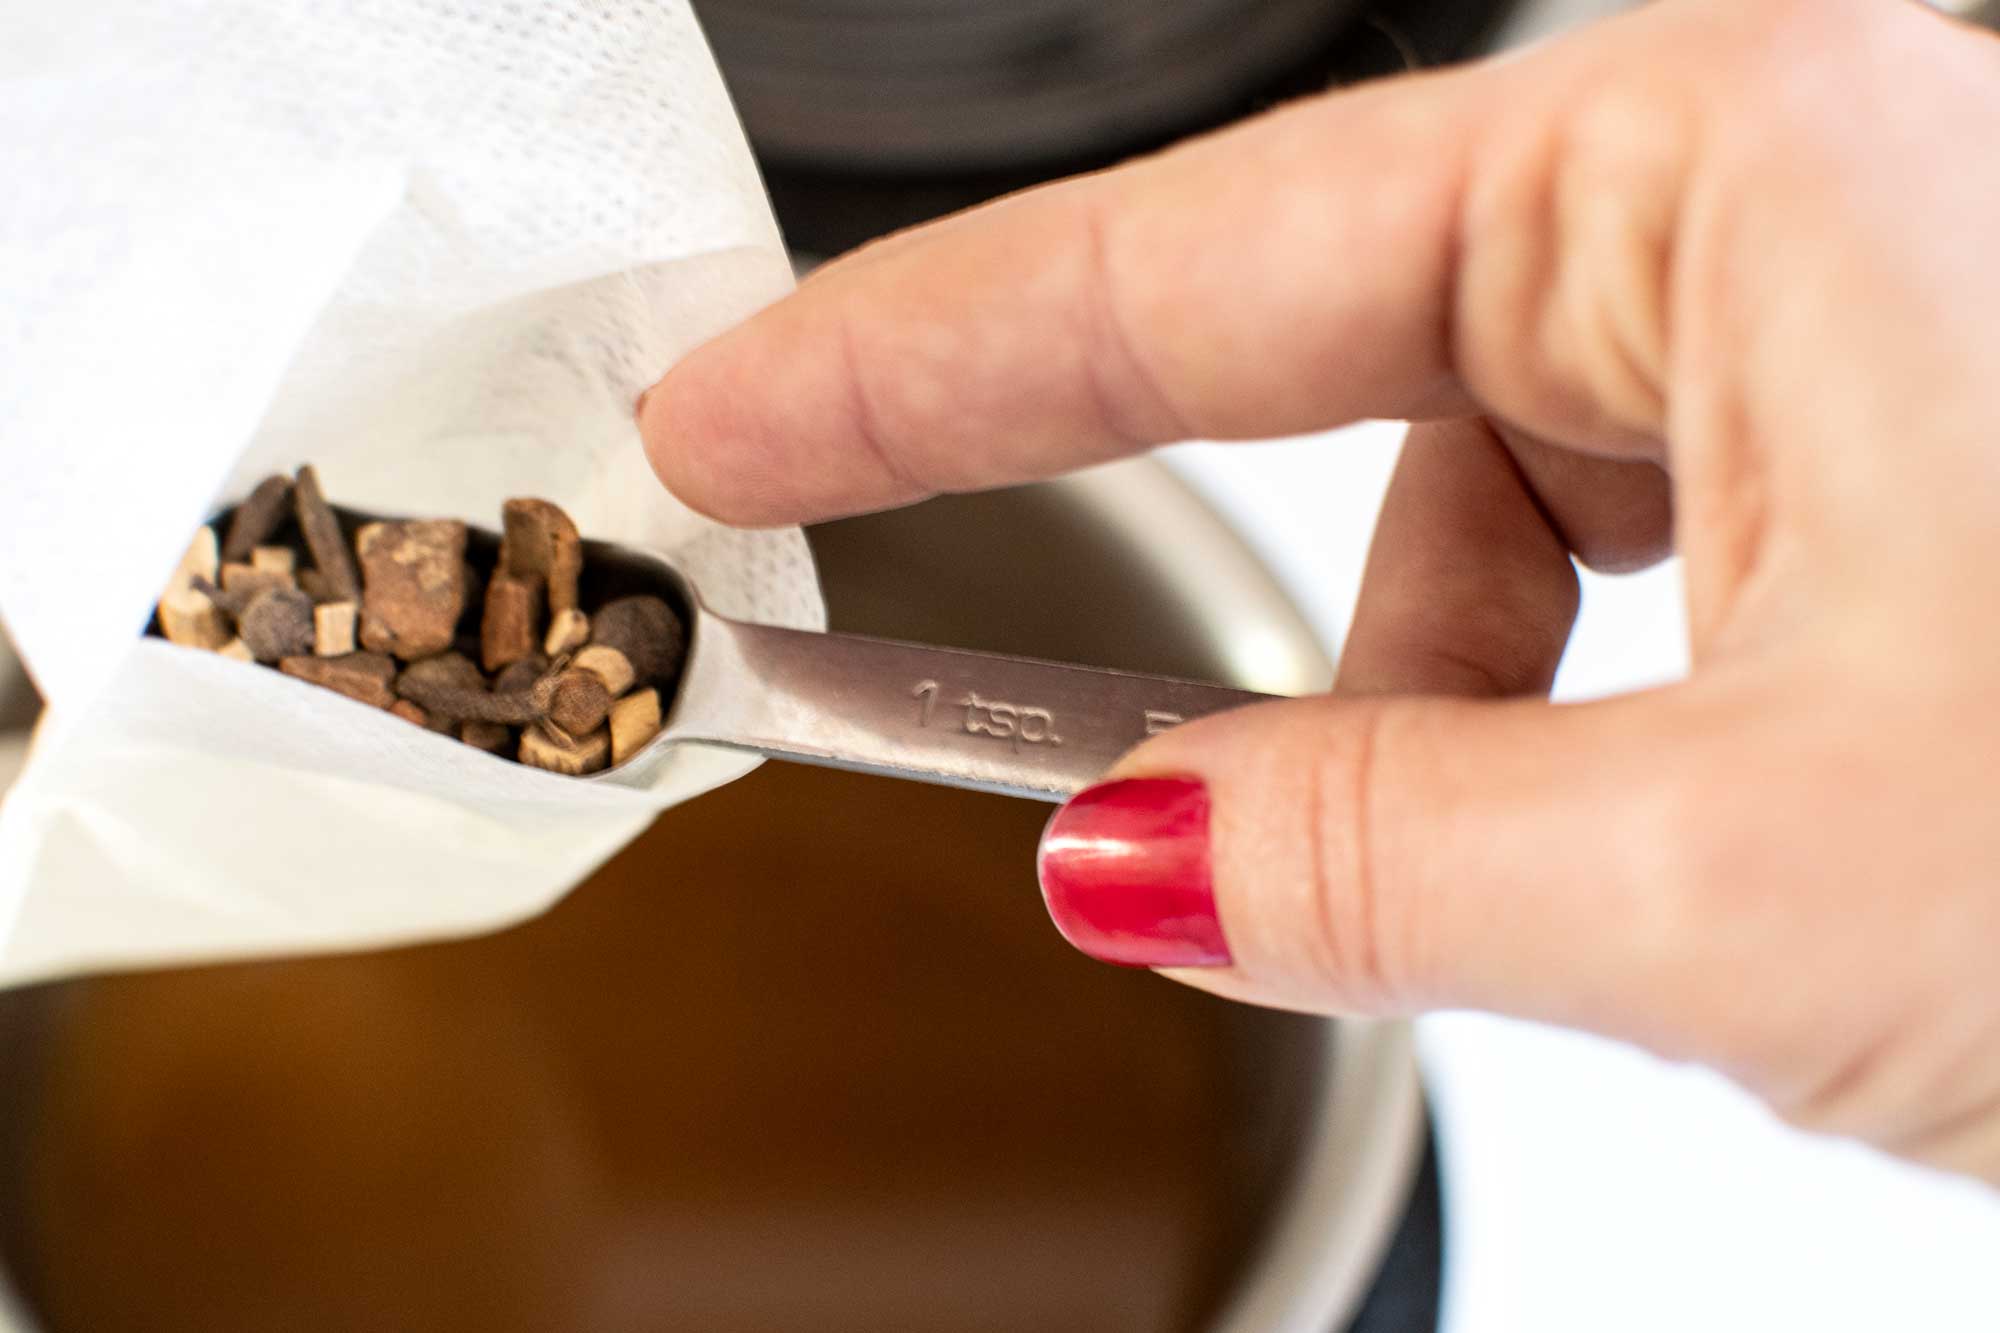
    1. Put apple cider and mulling spice (loose if you have a strainer, or in an infuser if that is your preference) into a small sauce pan and bring to a simmer.
    2. Let steep 5-10 minutes, for a stronger spiced flavor, simmer for 5 minutes.
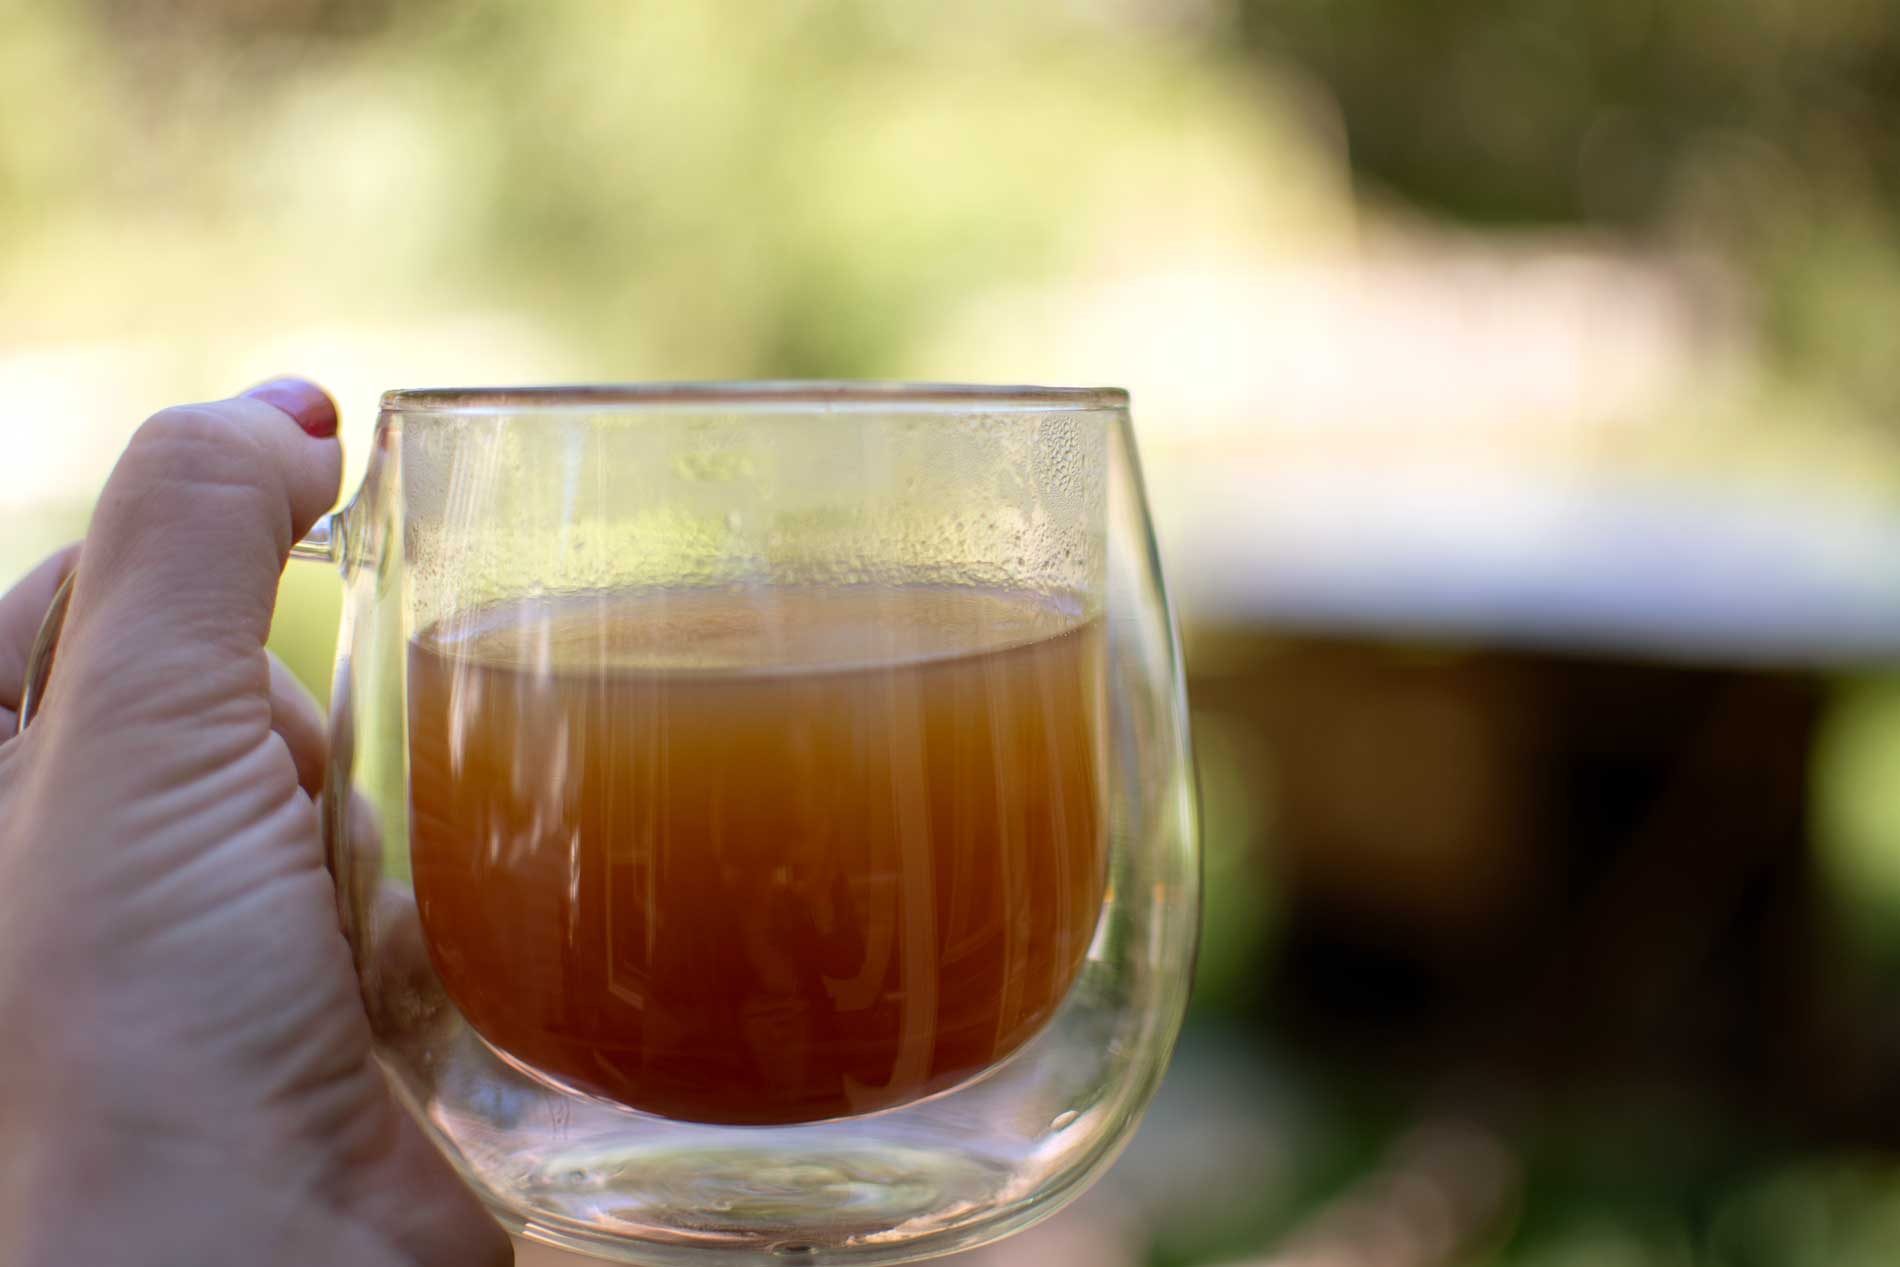
    3. Strain into cup through a culinary strainer, or if you used an infuser to hold the spices, remove T-sac and pour into cup.
    4. Add a garnish of a cinnamon stick and/or a slice of apple.

    By the gallon: 1/2oz per 1 gallon of cider. Use a laddle to serve.

  • DIY garlic oil

    DIY garlic oil

    Today I wanted to show you one of my favorite things to do with fresh garlic. As we head into the heart of summer and garlic will soon be showing up at the farmer’s market – those nice soft neck fresh bulbs – it seemed a good time.  Garlic oil is a lovely thing to keep around the kitchen and in the home apothecary cabinet.

    The best part, it’s easy. The main thing to remember is to not saute it. Low temp. Really low.

    The full recipe is at the bottom for ease of reading.

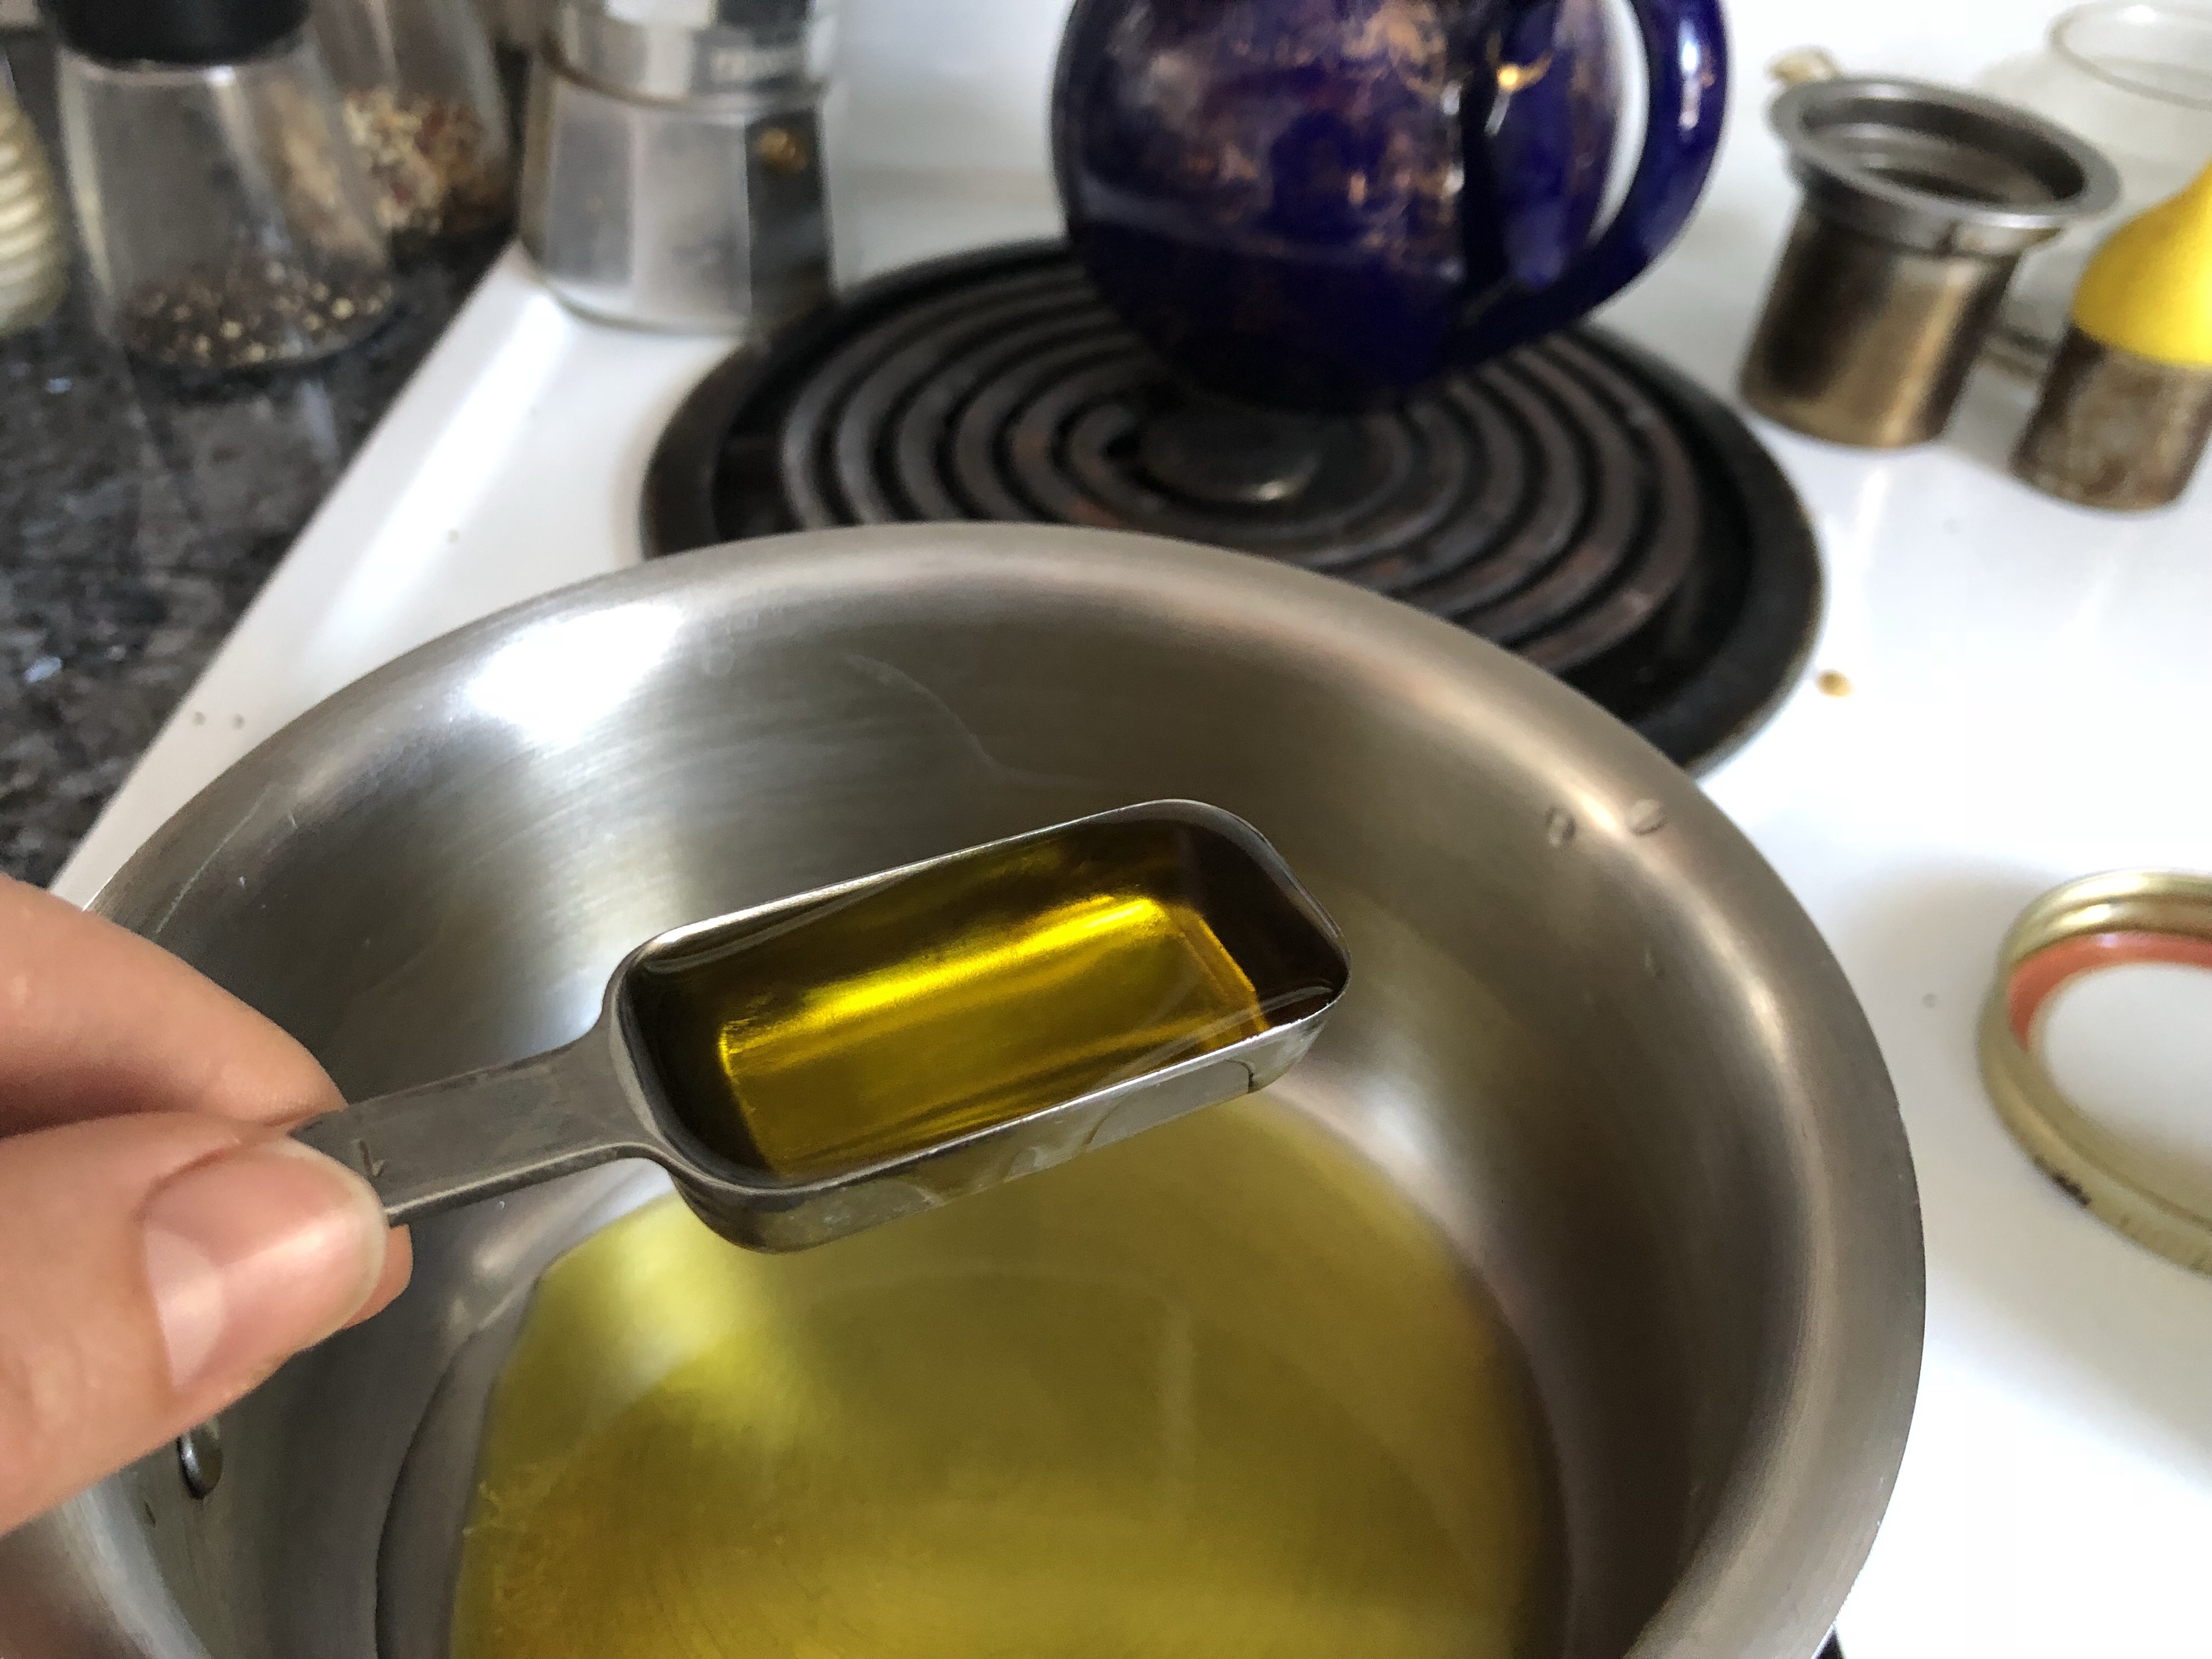
    Measure the oil.

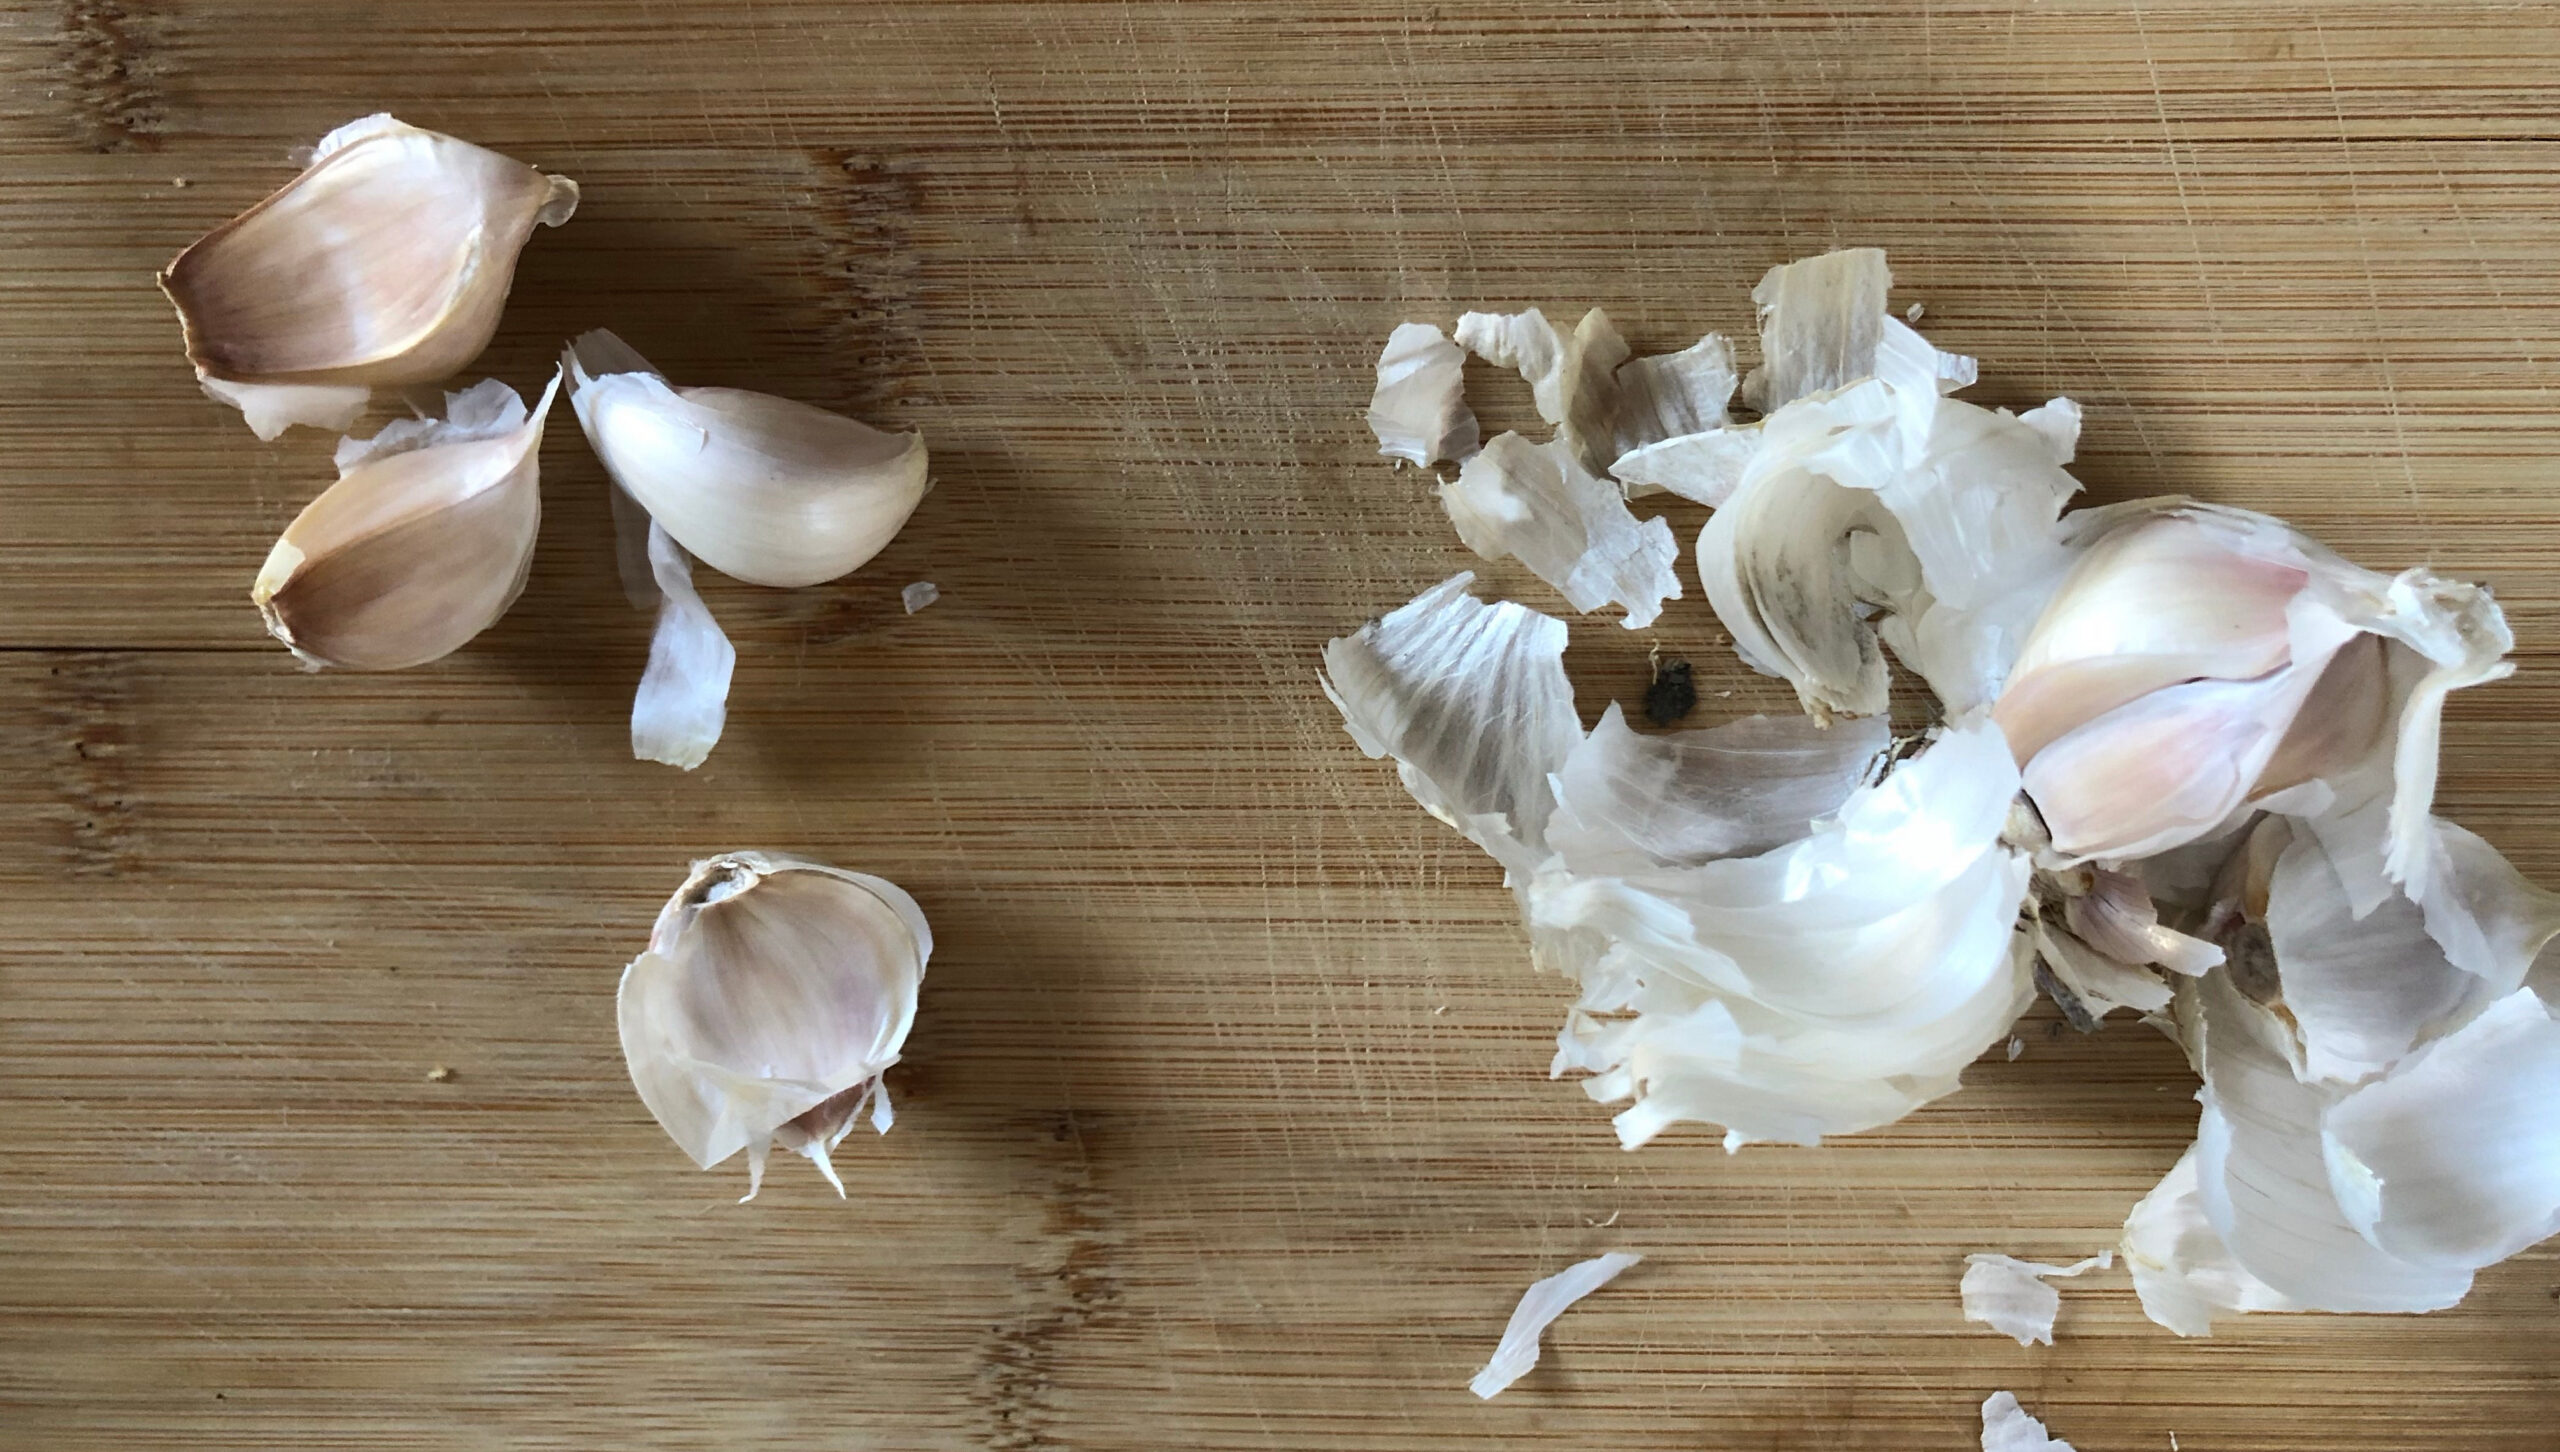
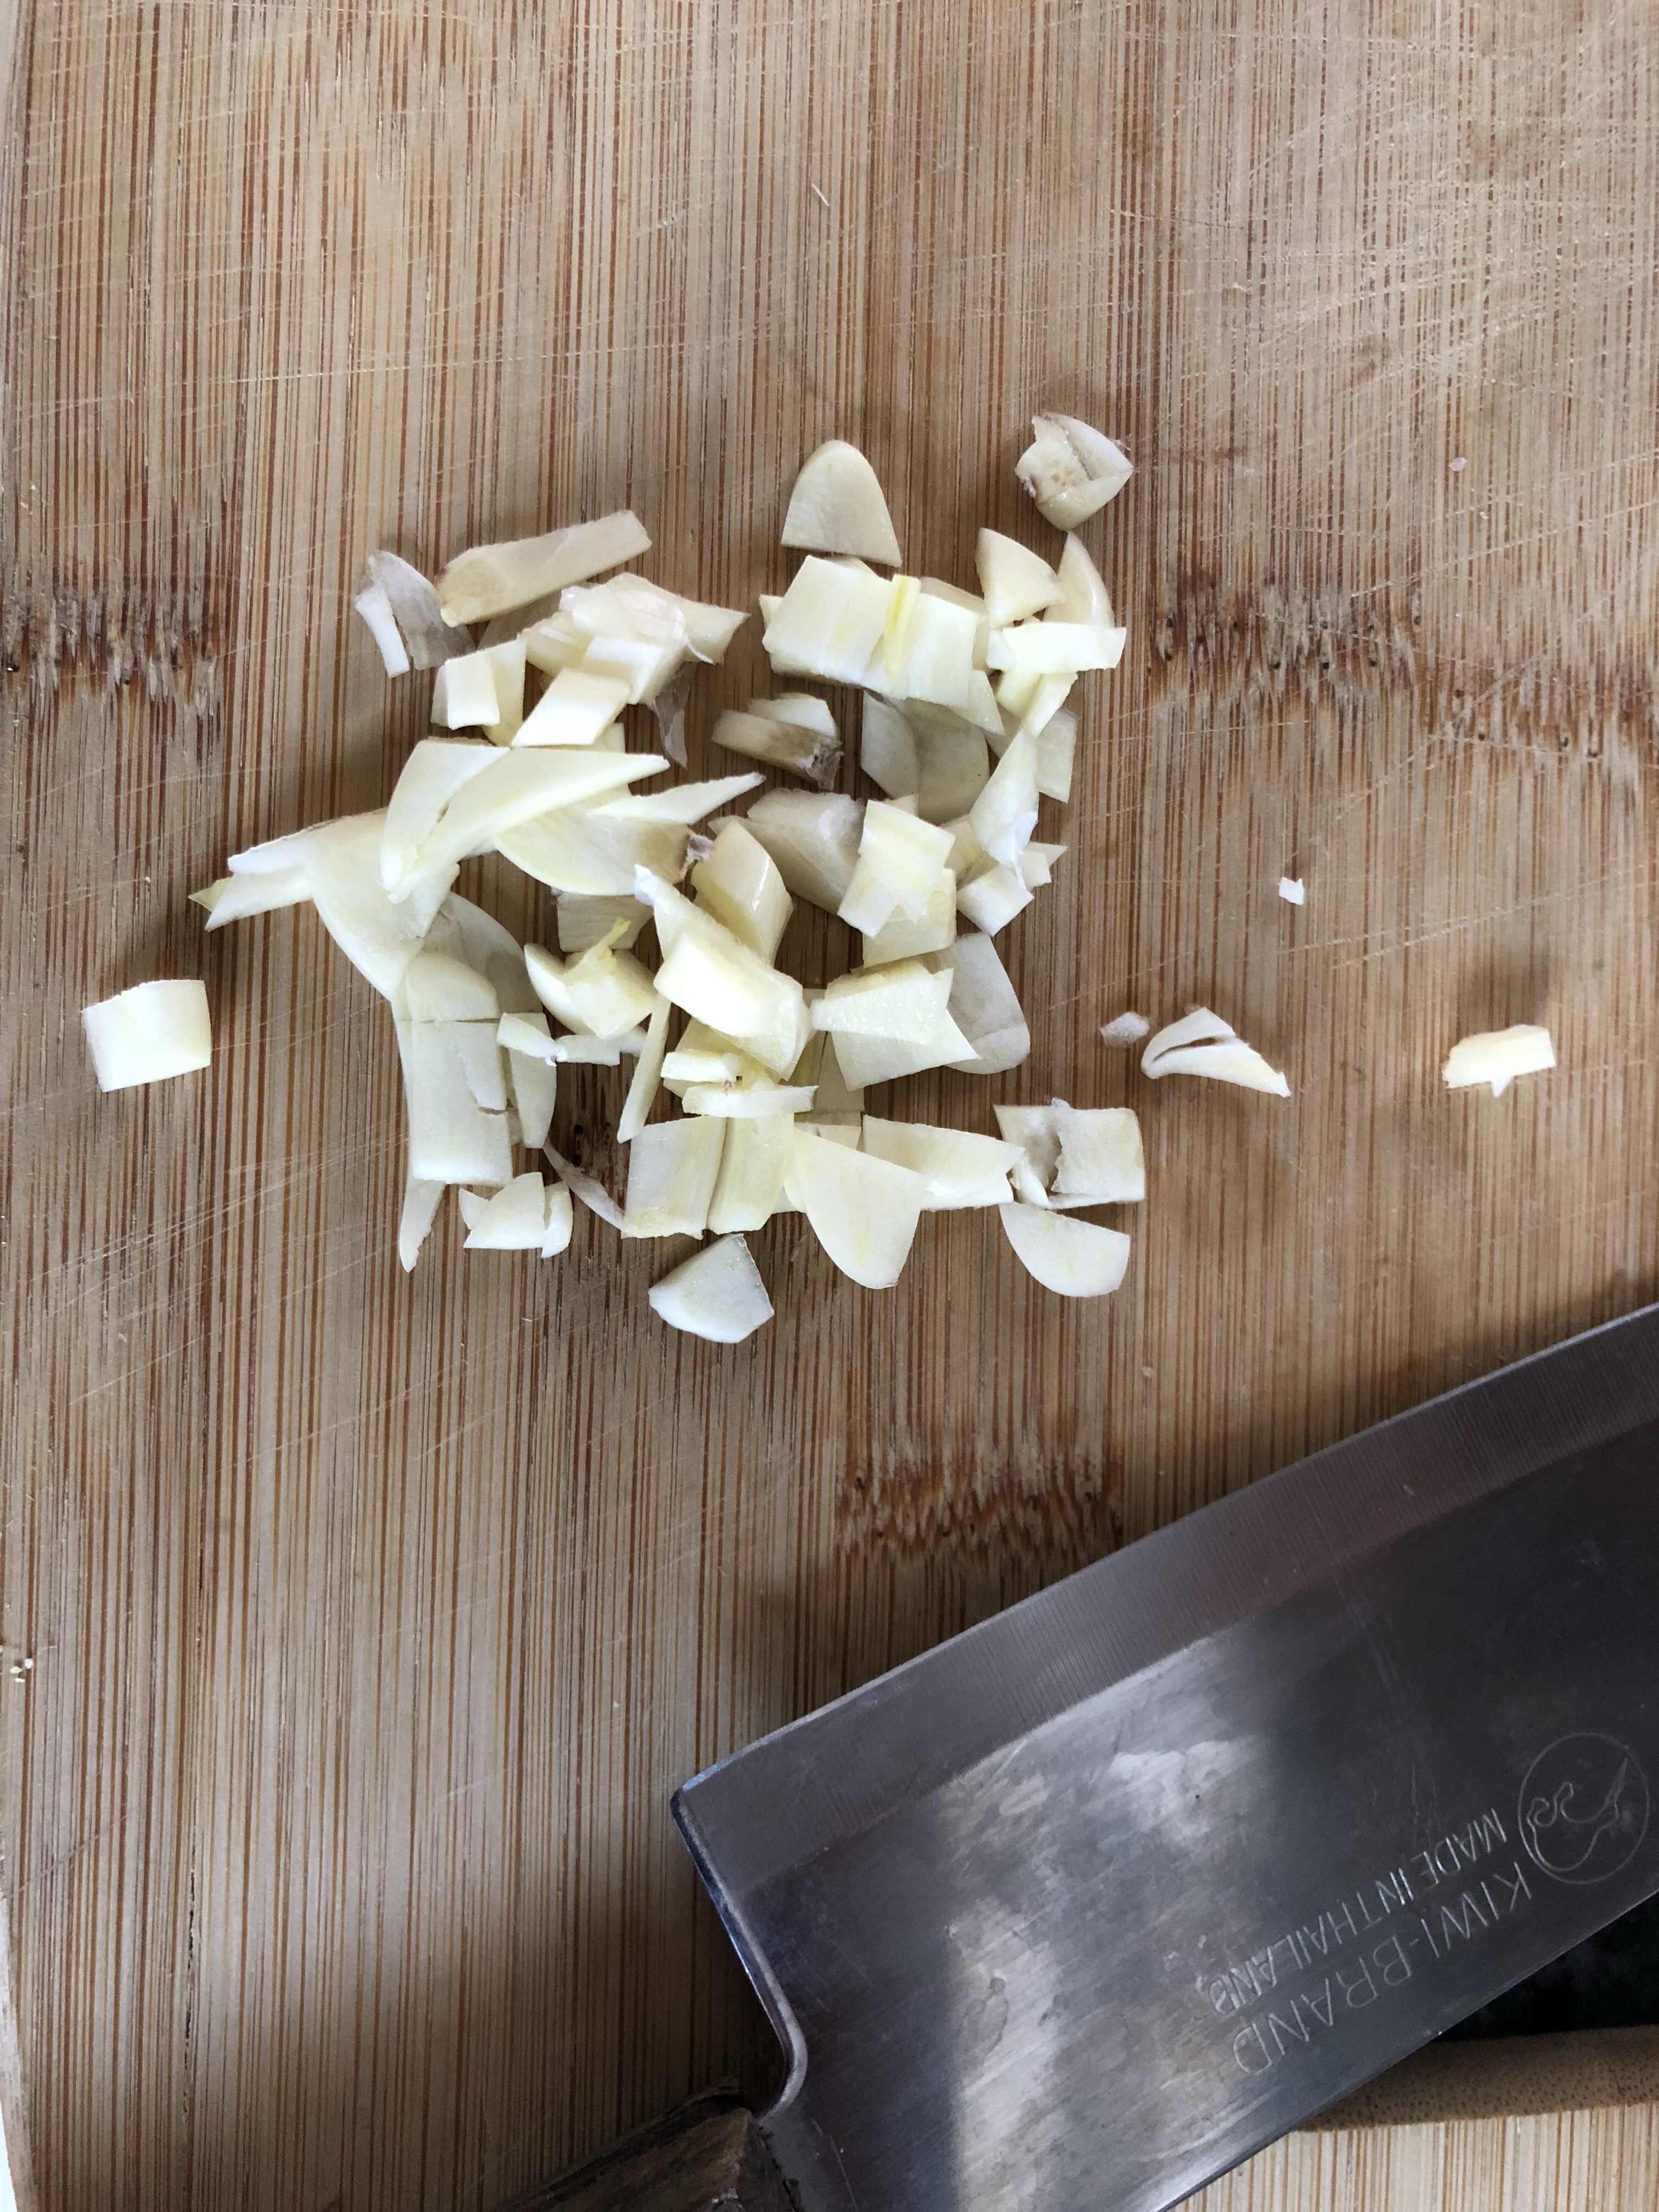
    Chop. Chop. Chop.

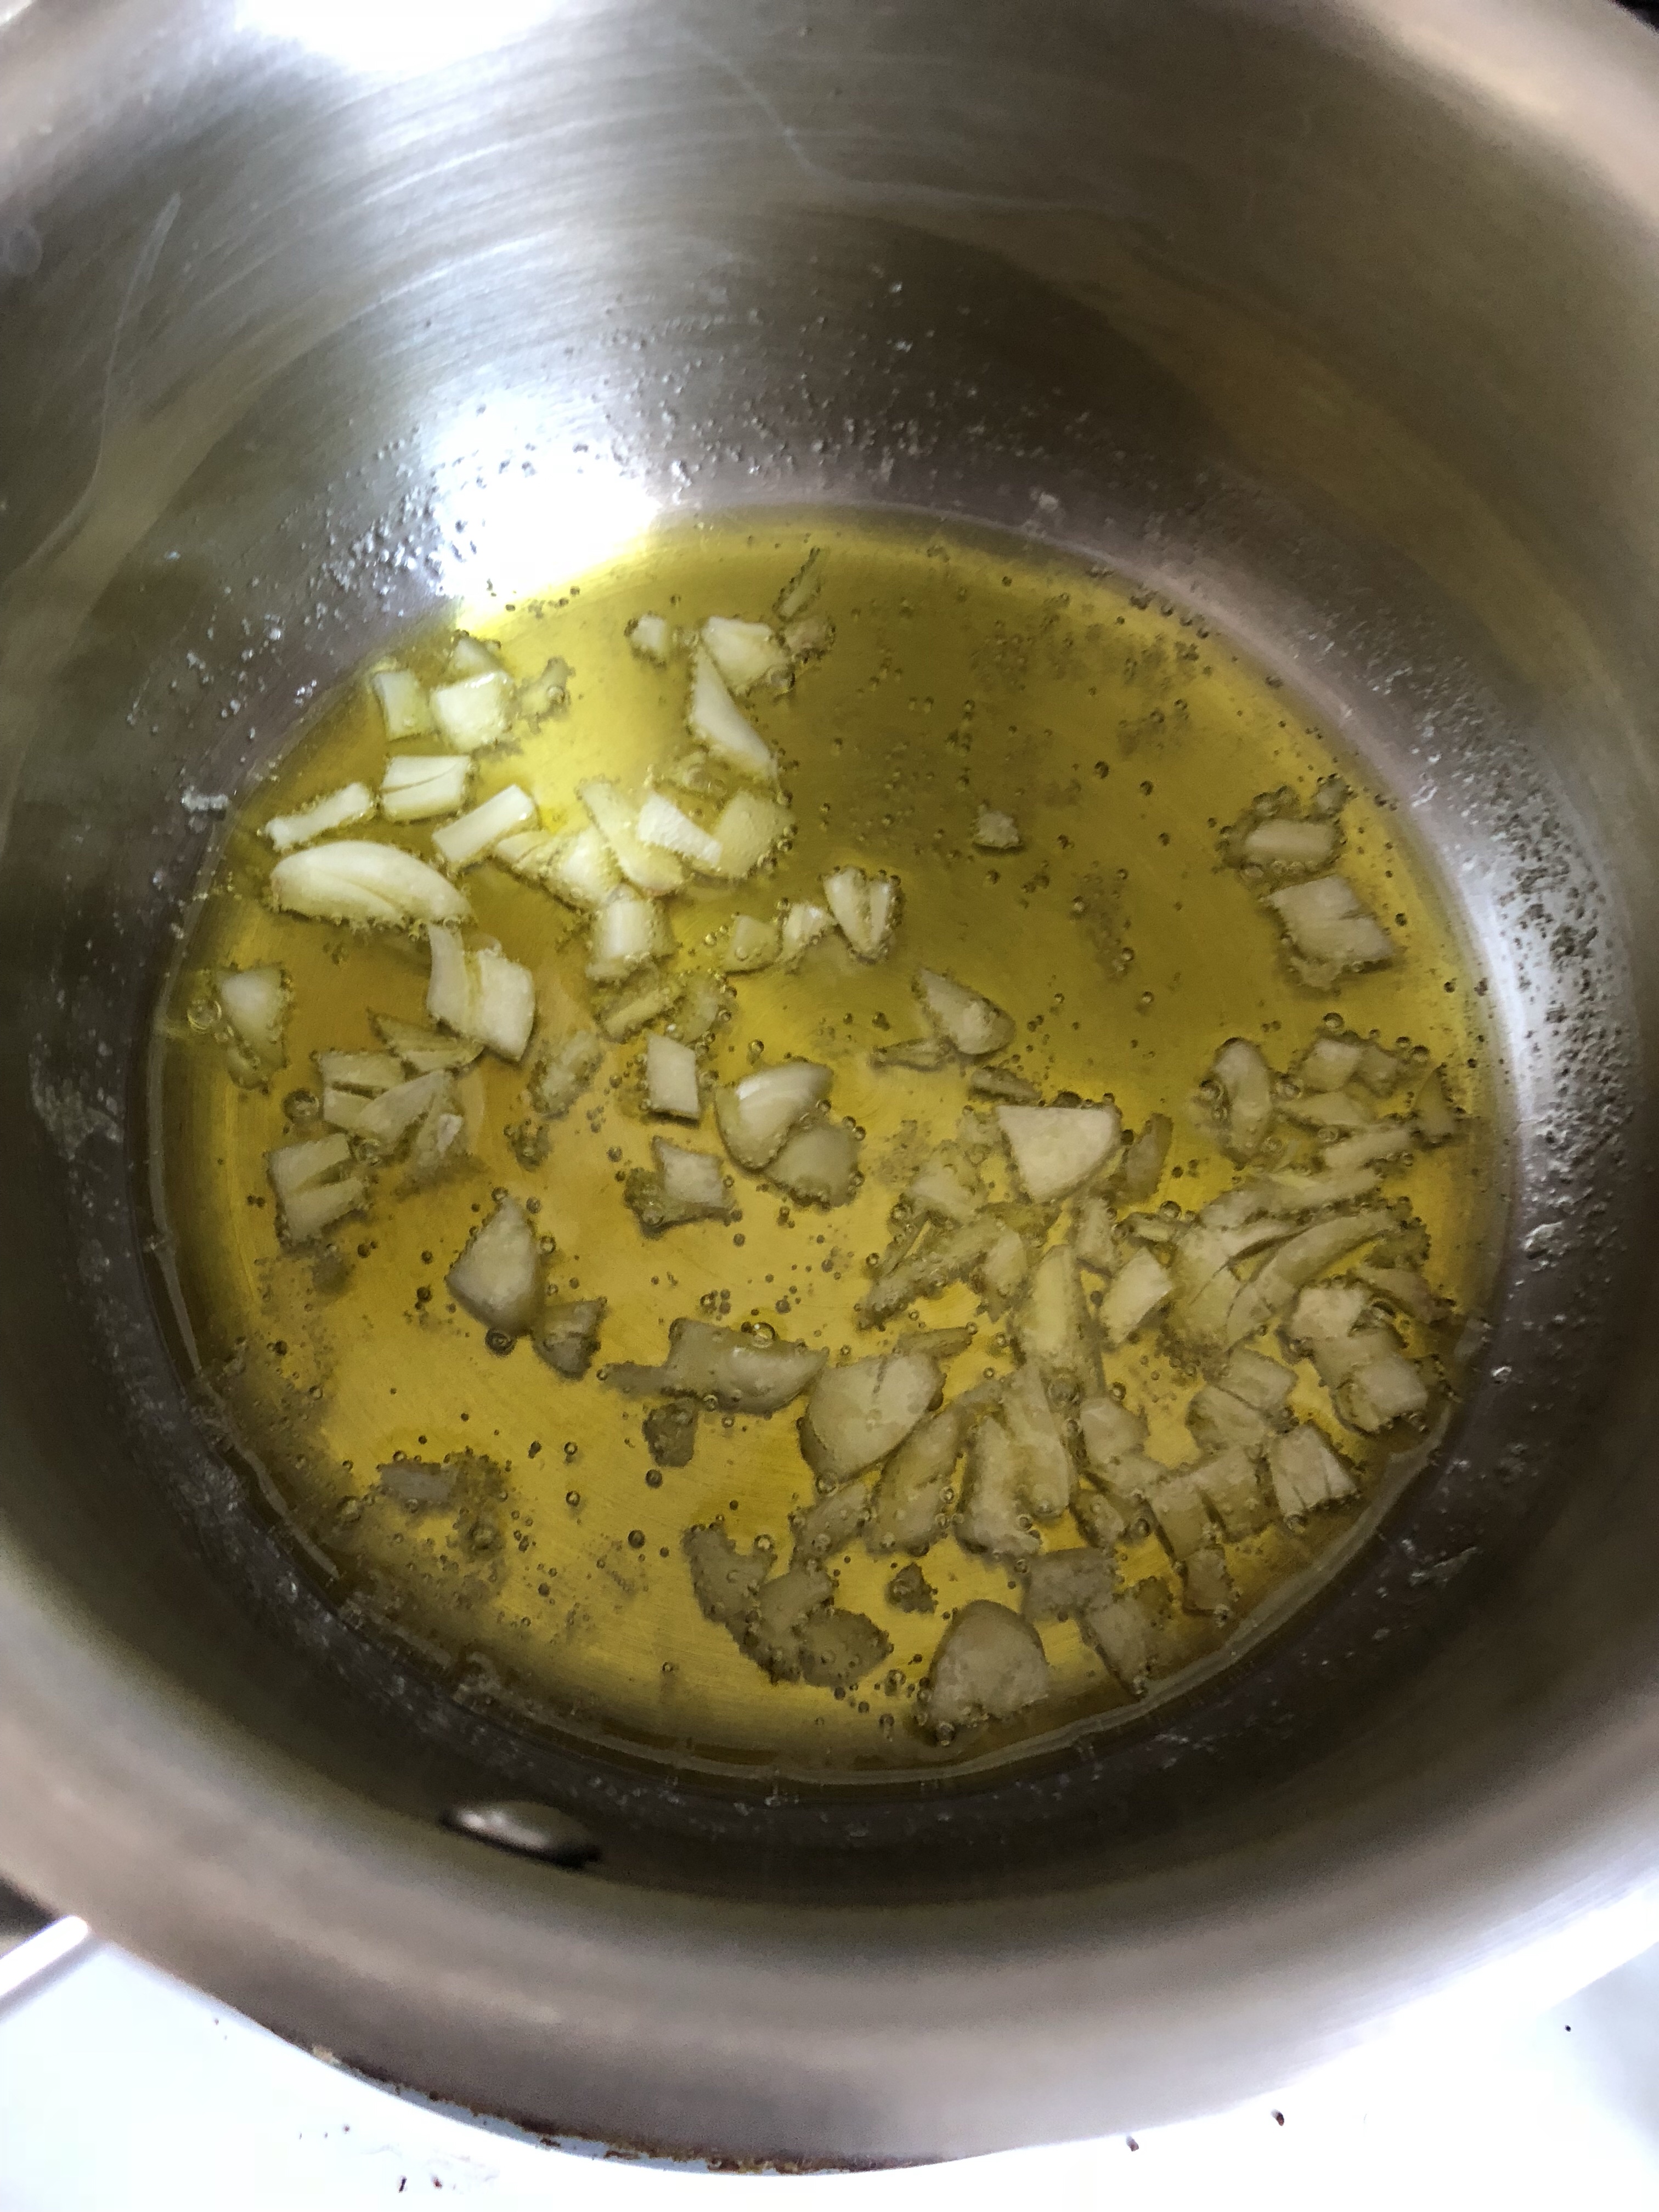
    Warm it up.

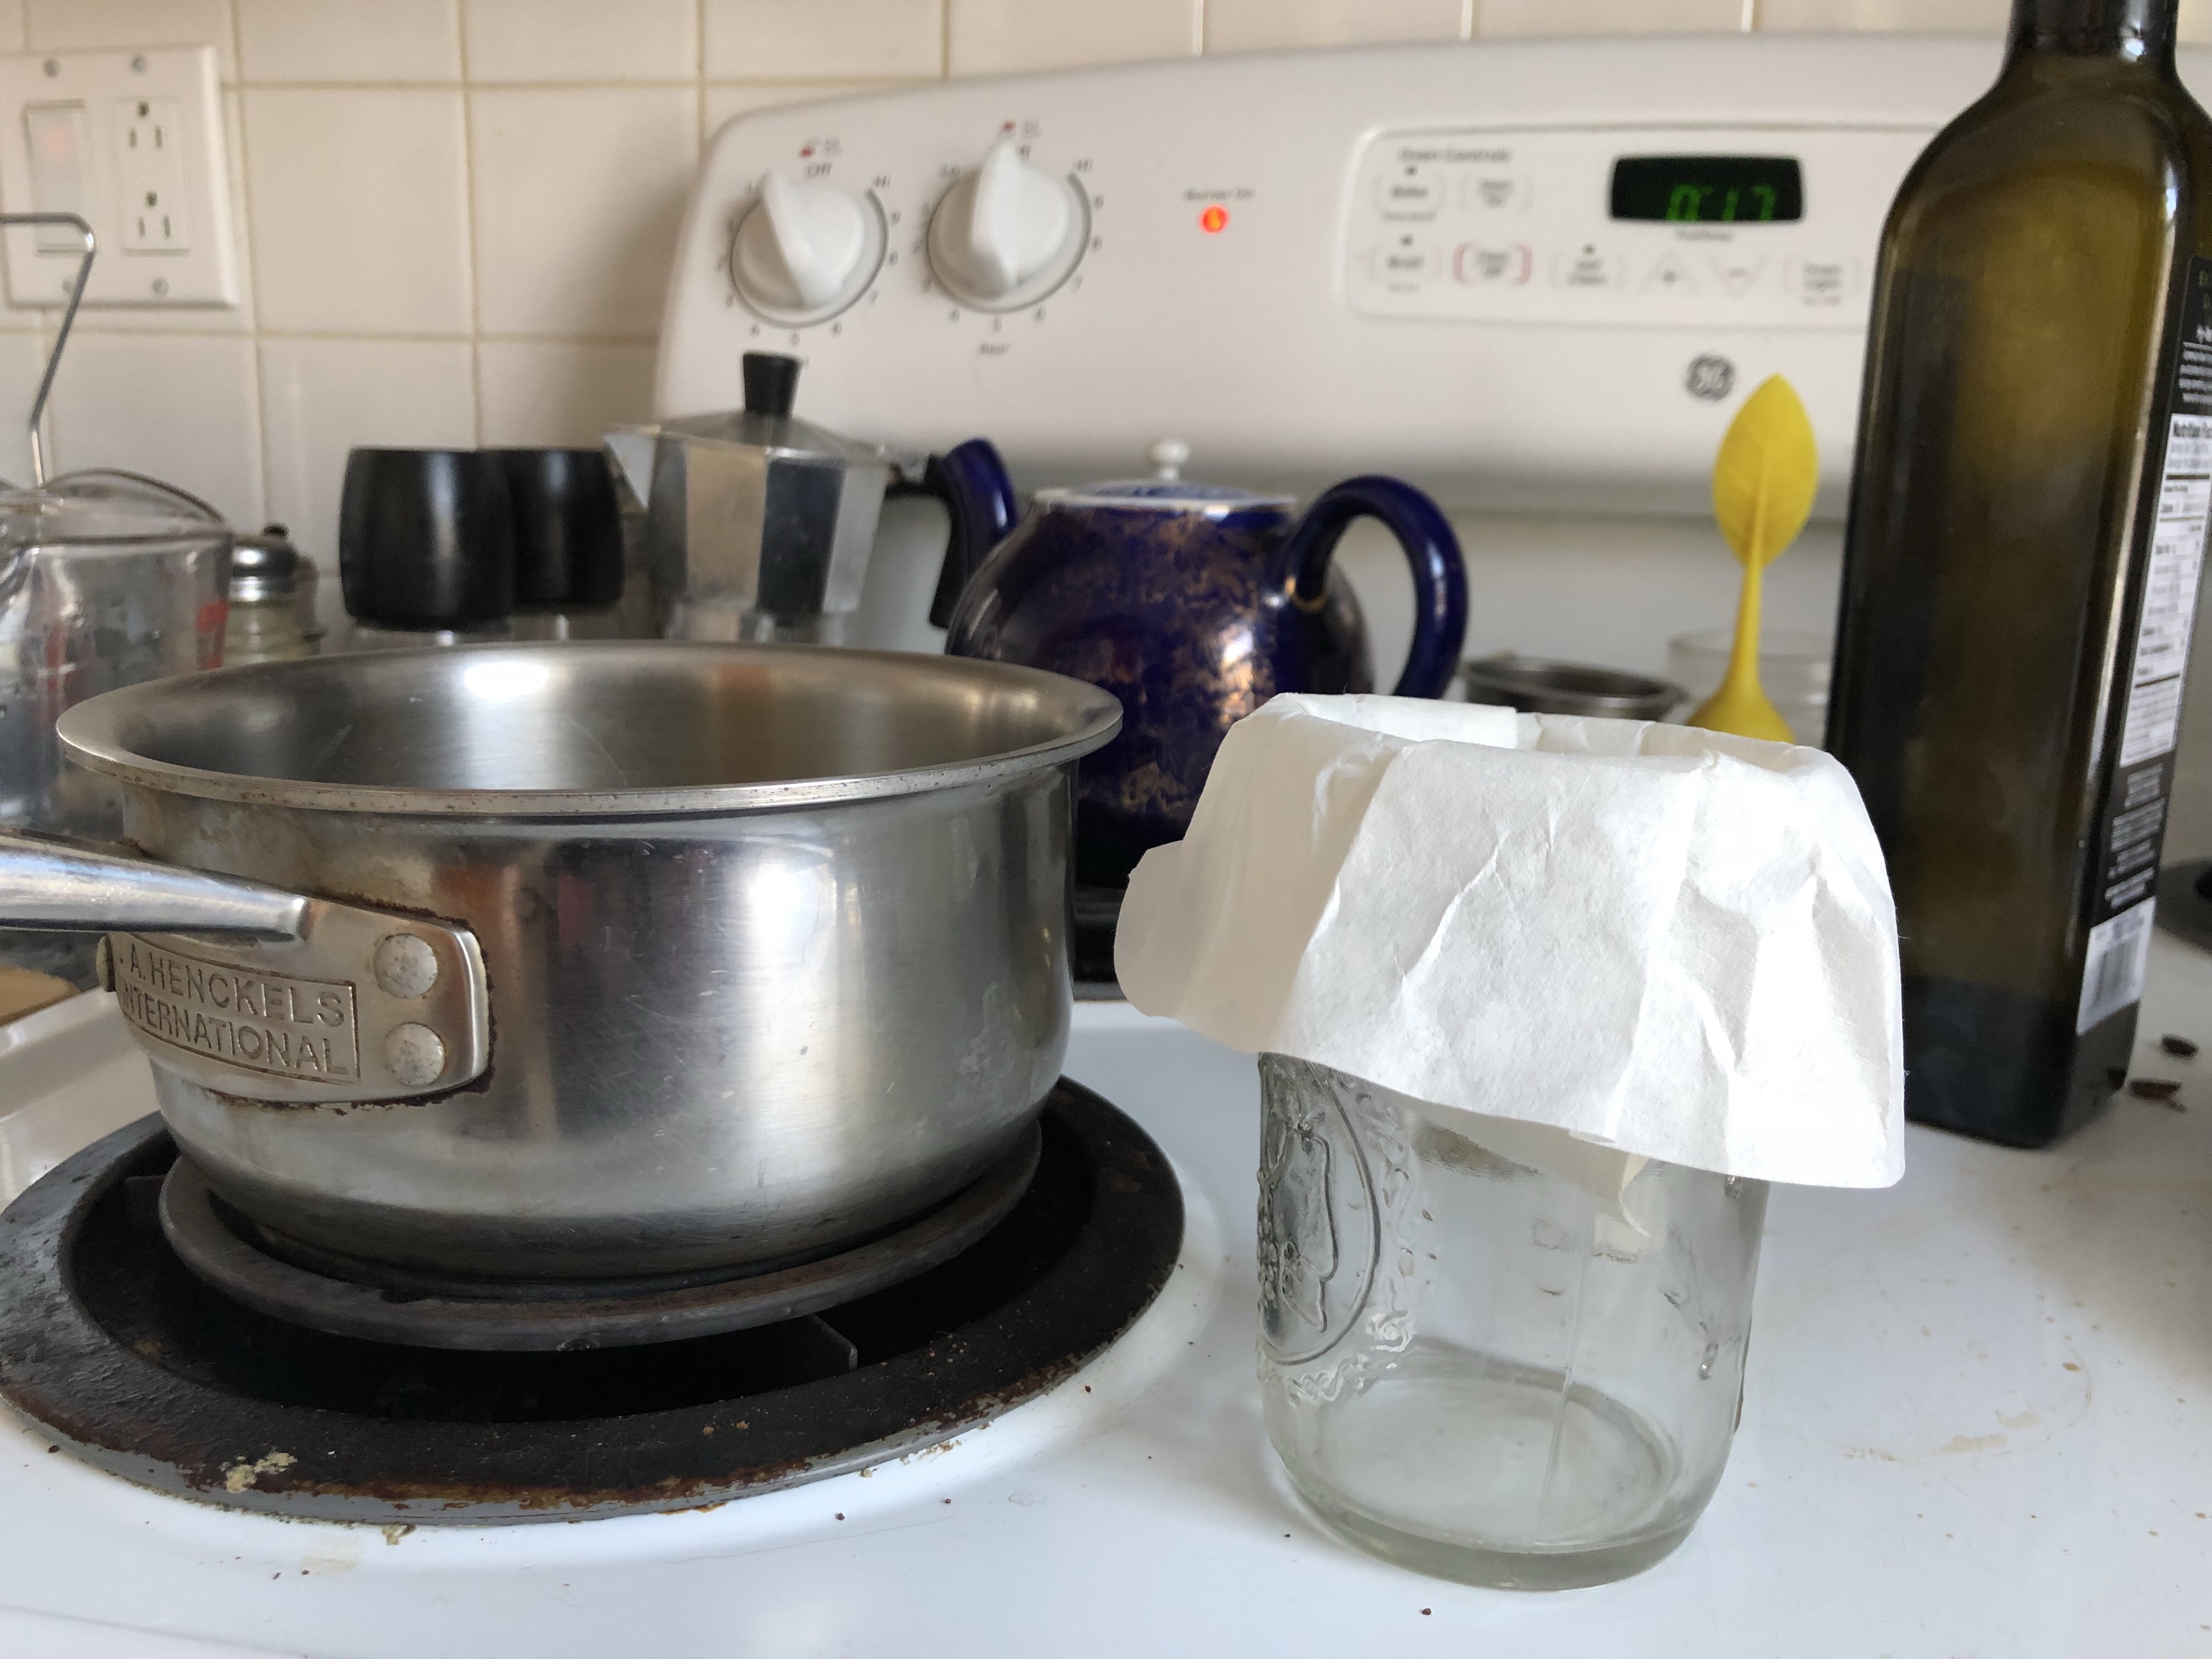
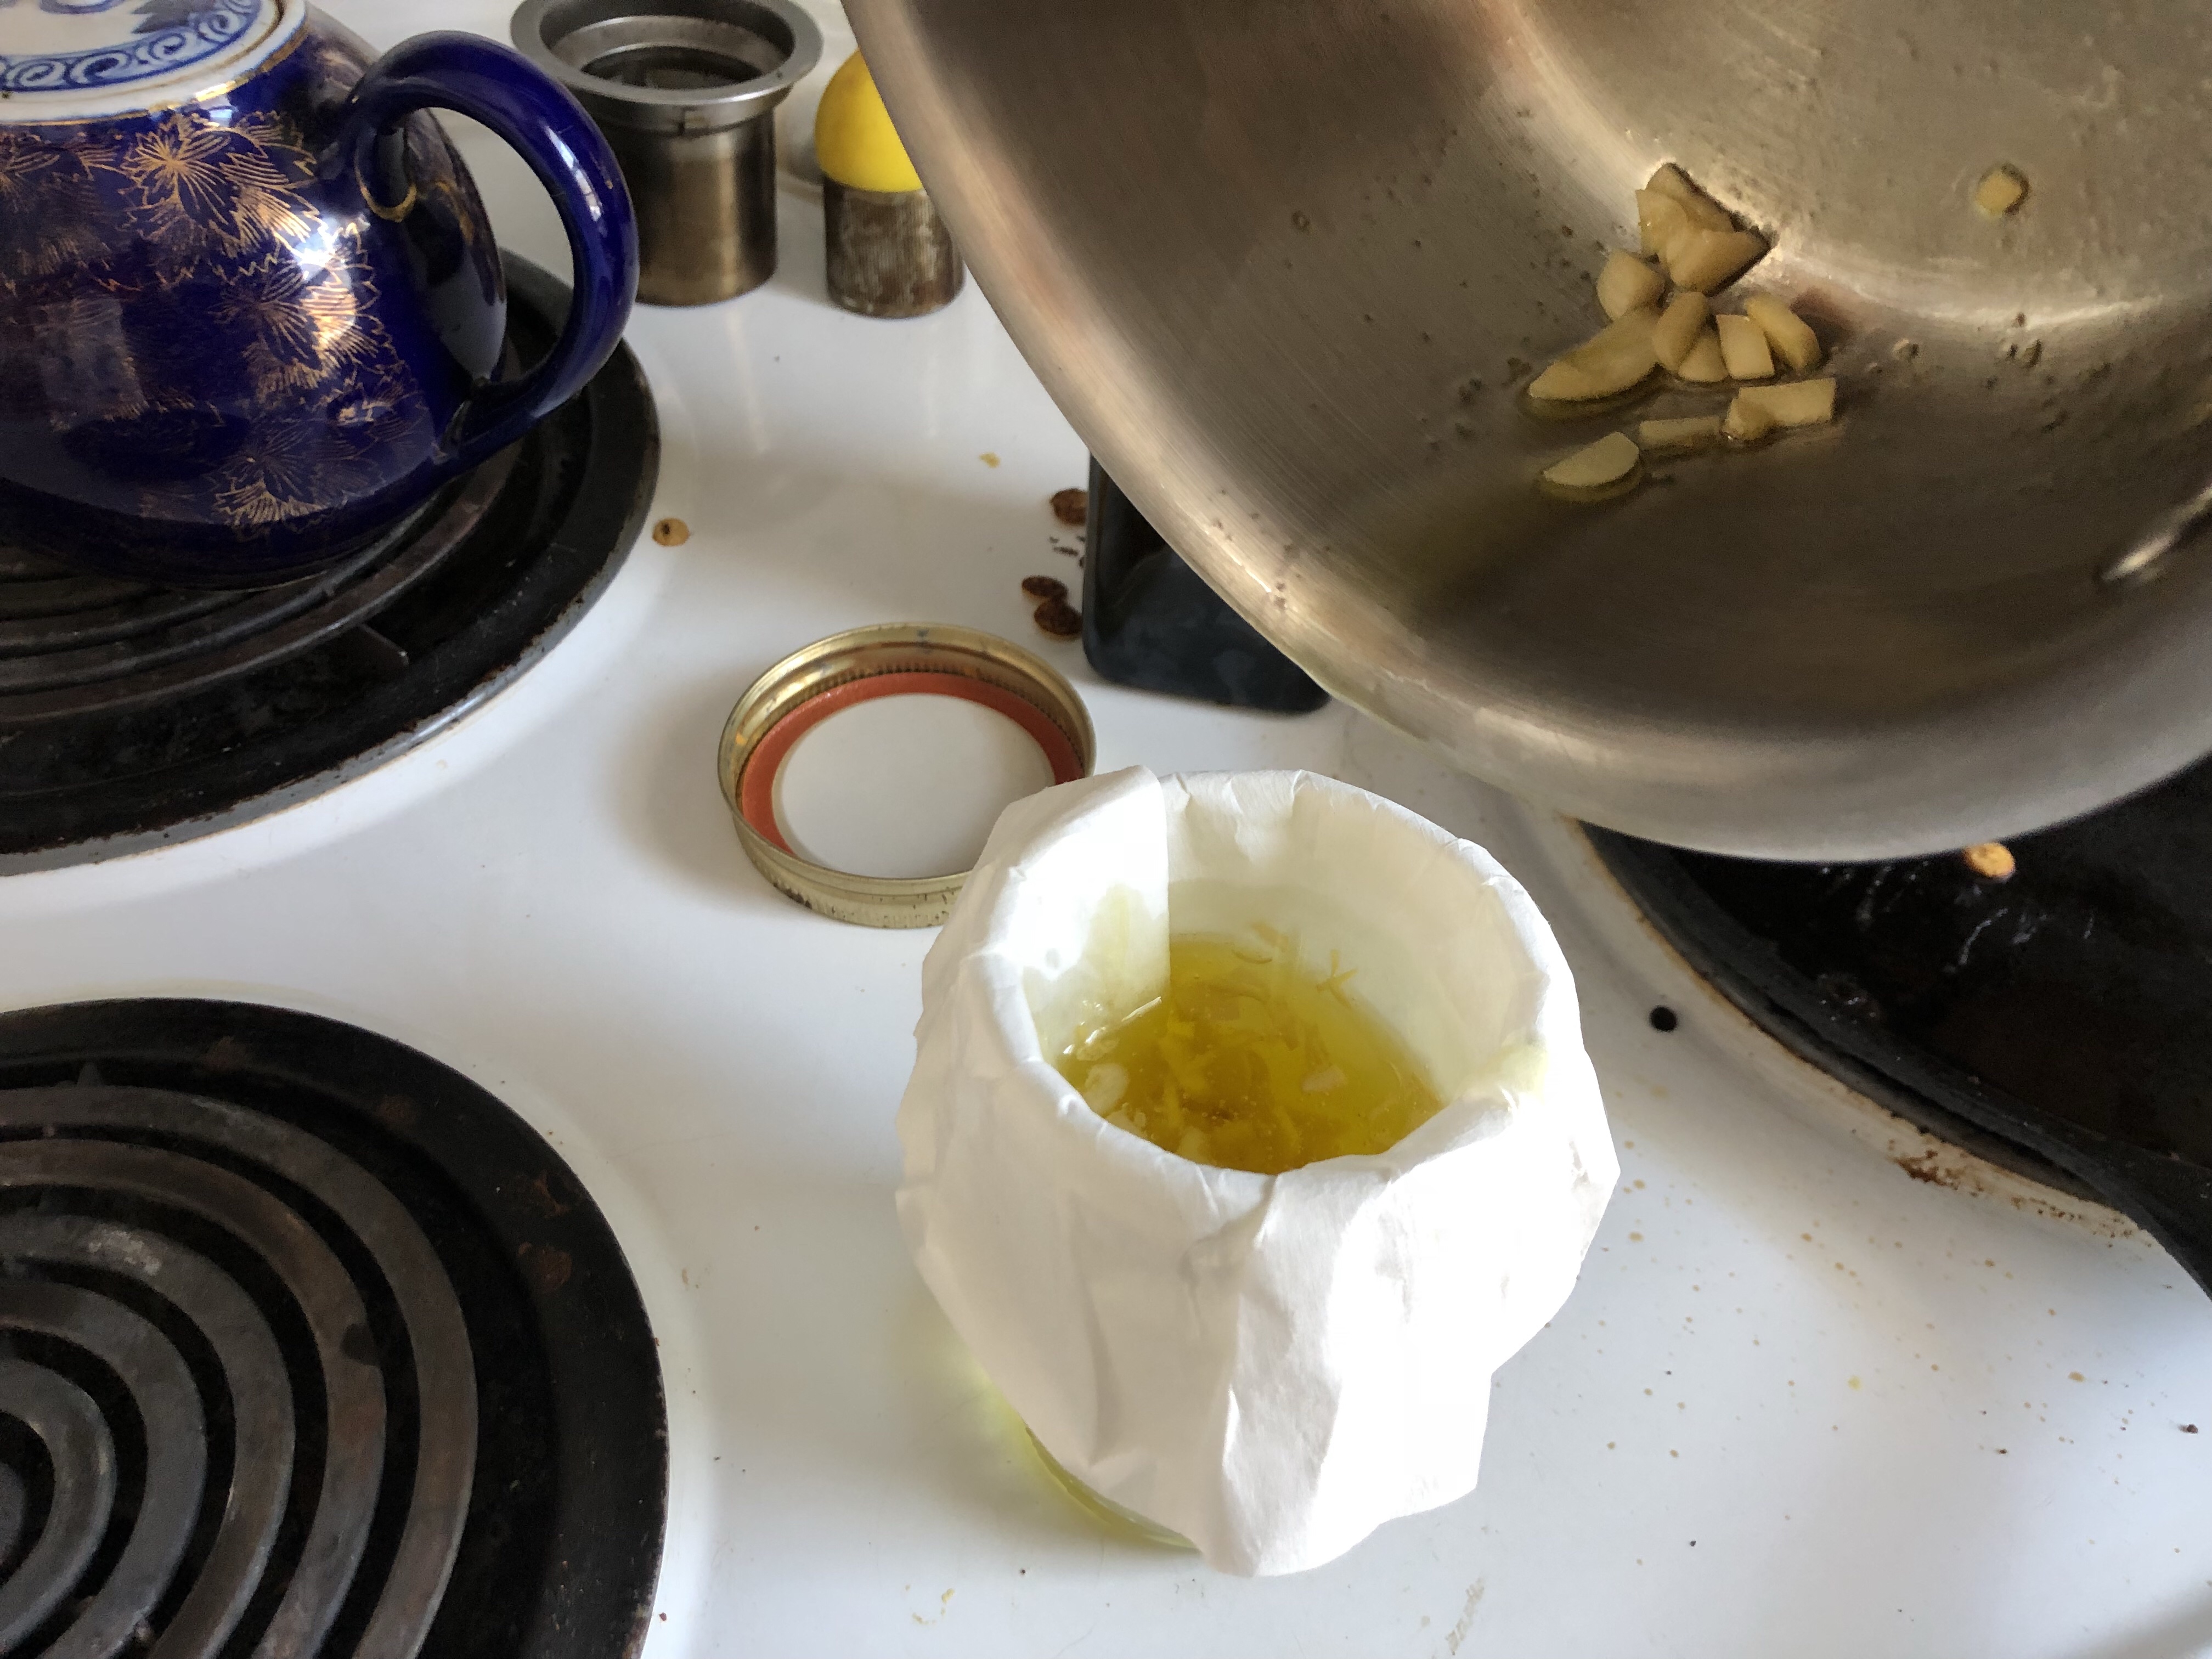
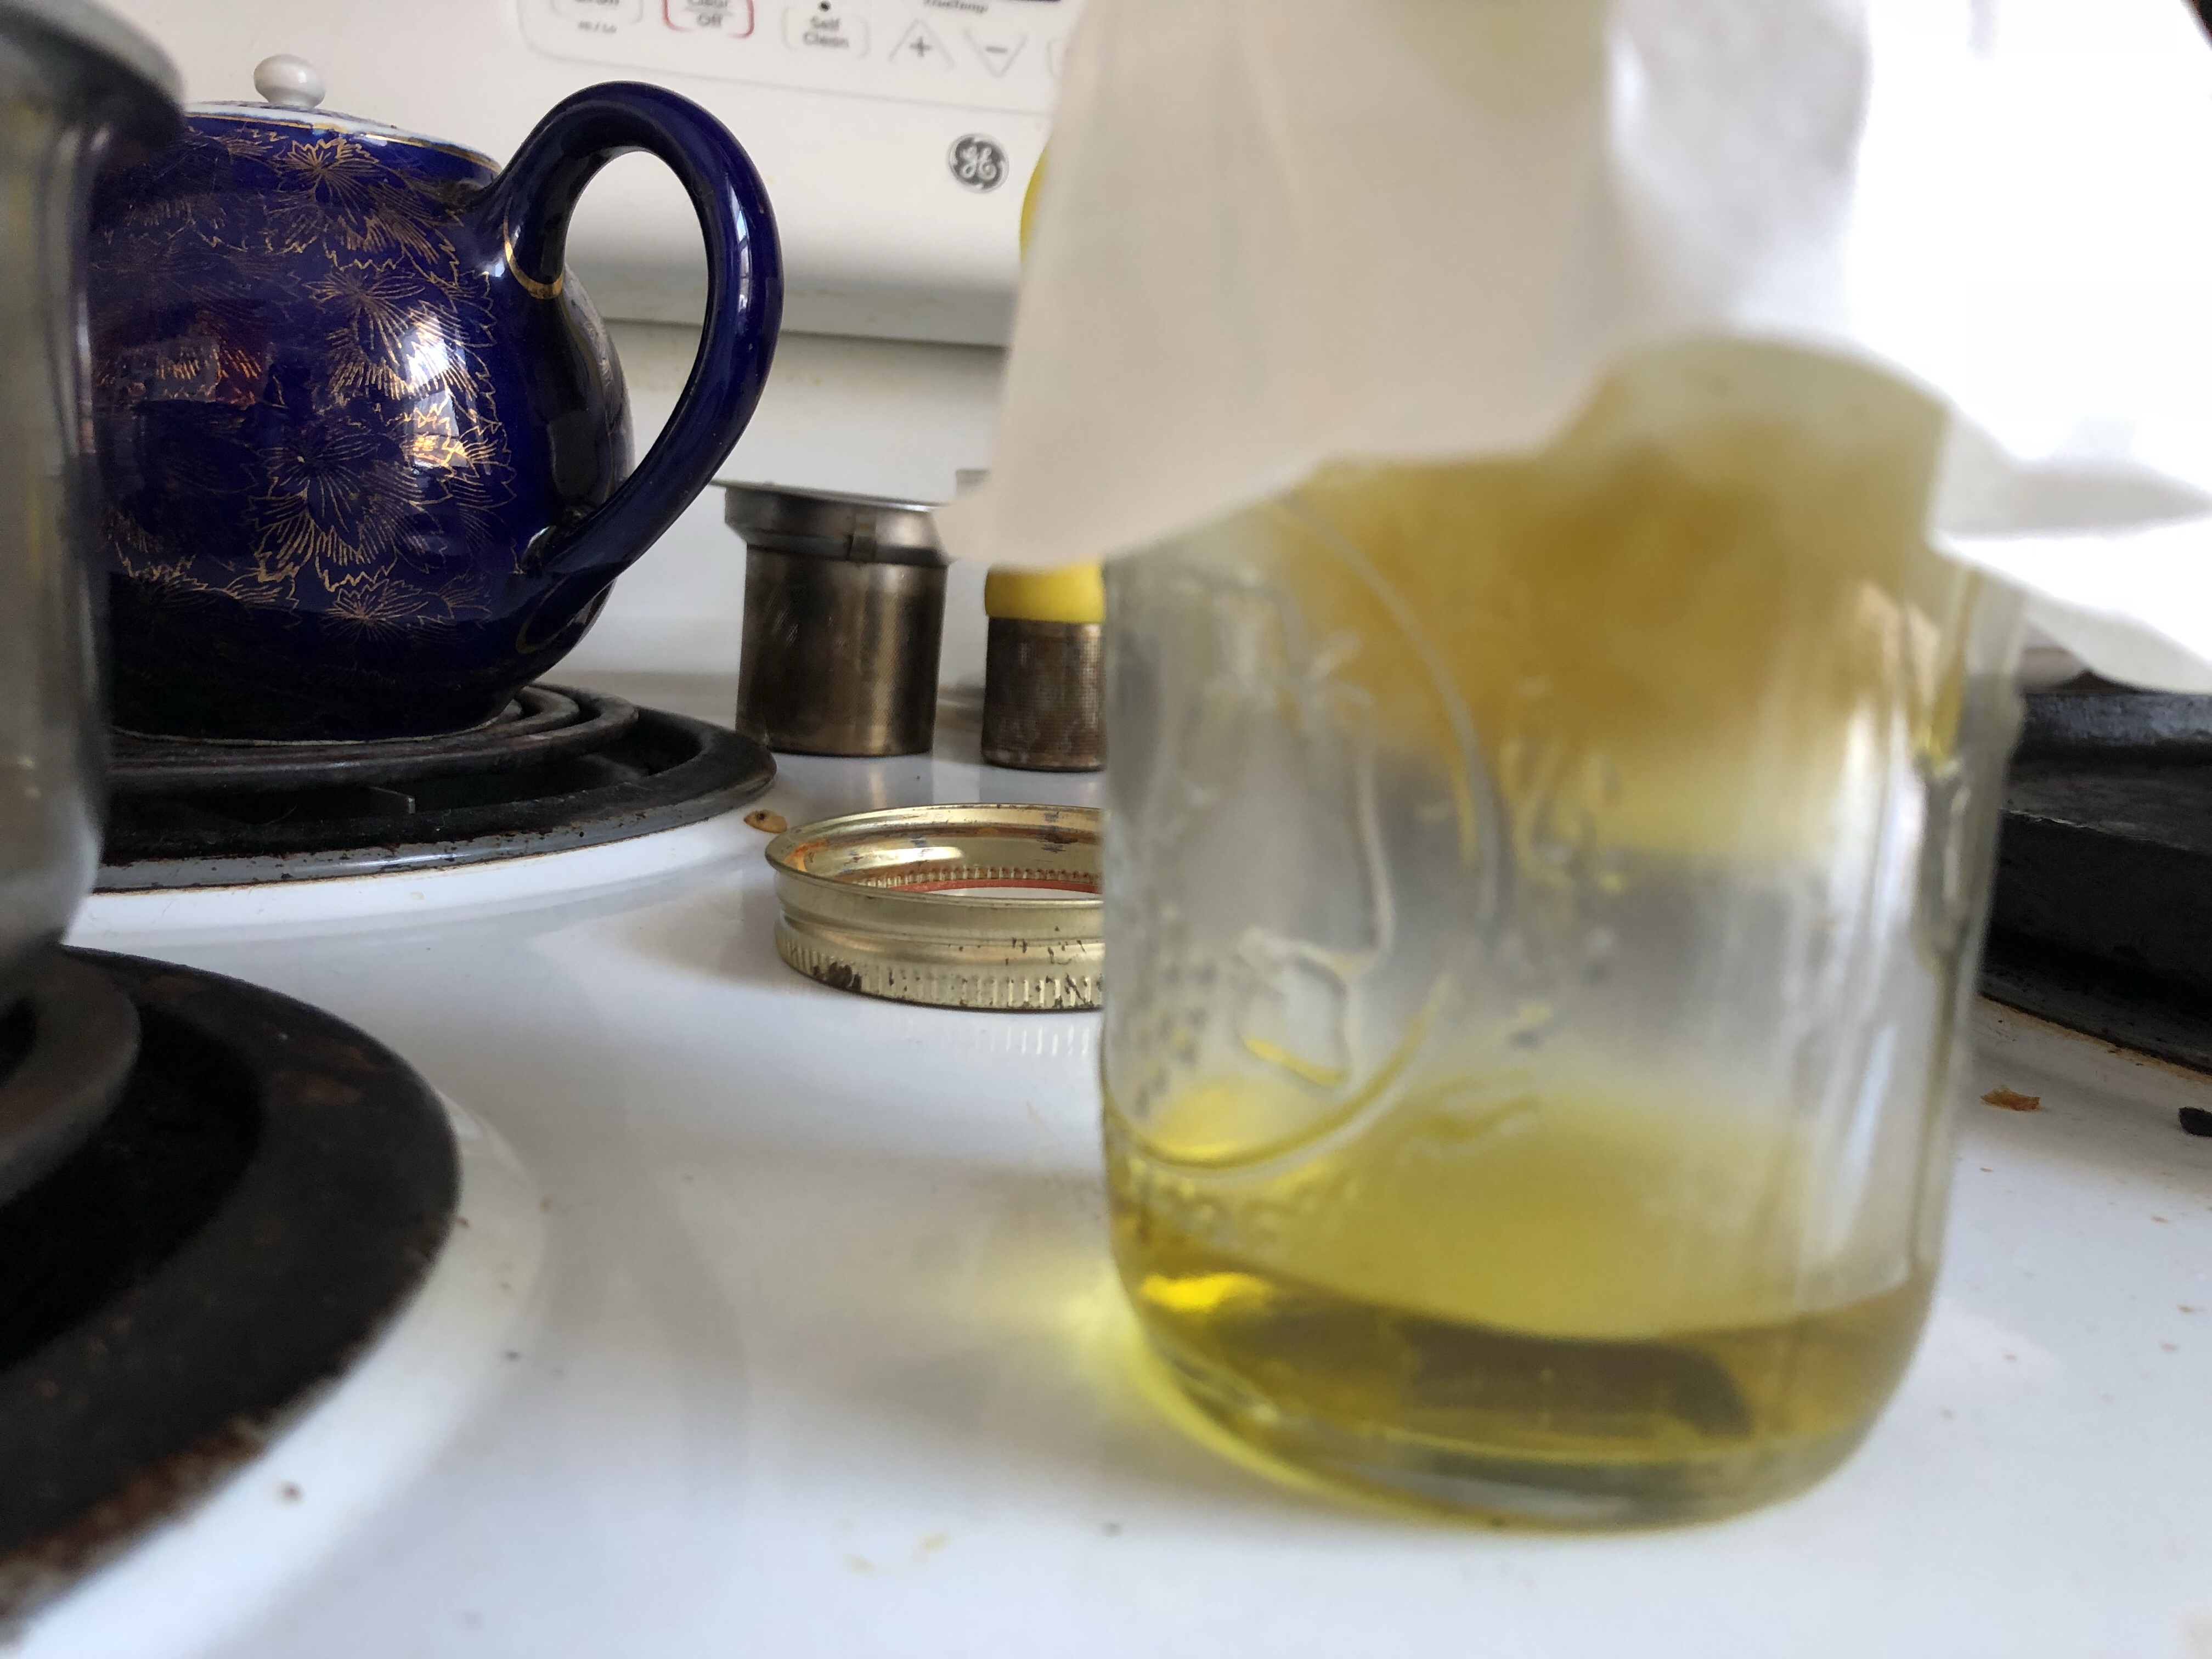
    Filter it.

    Wait for it.

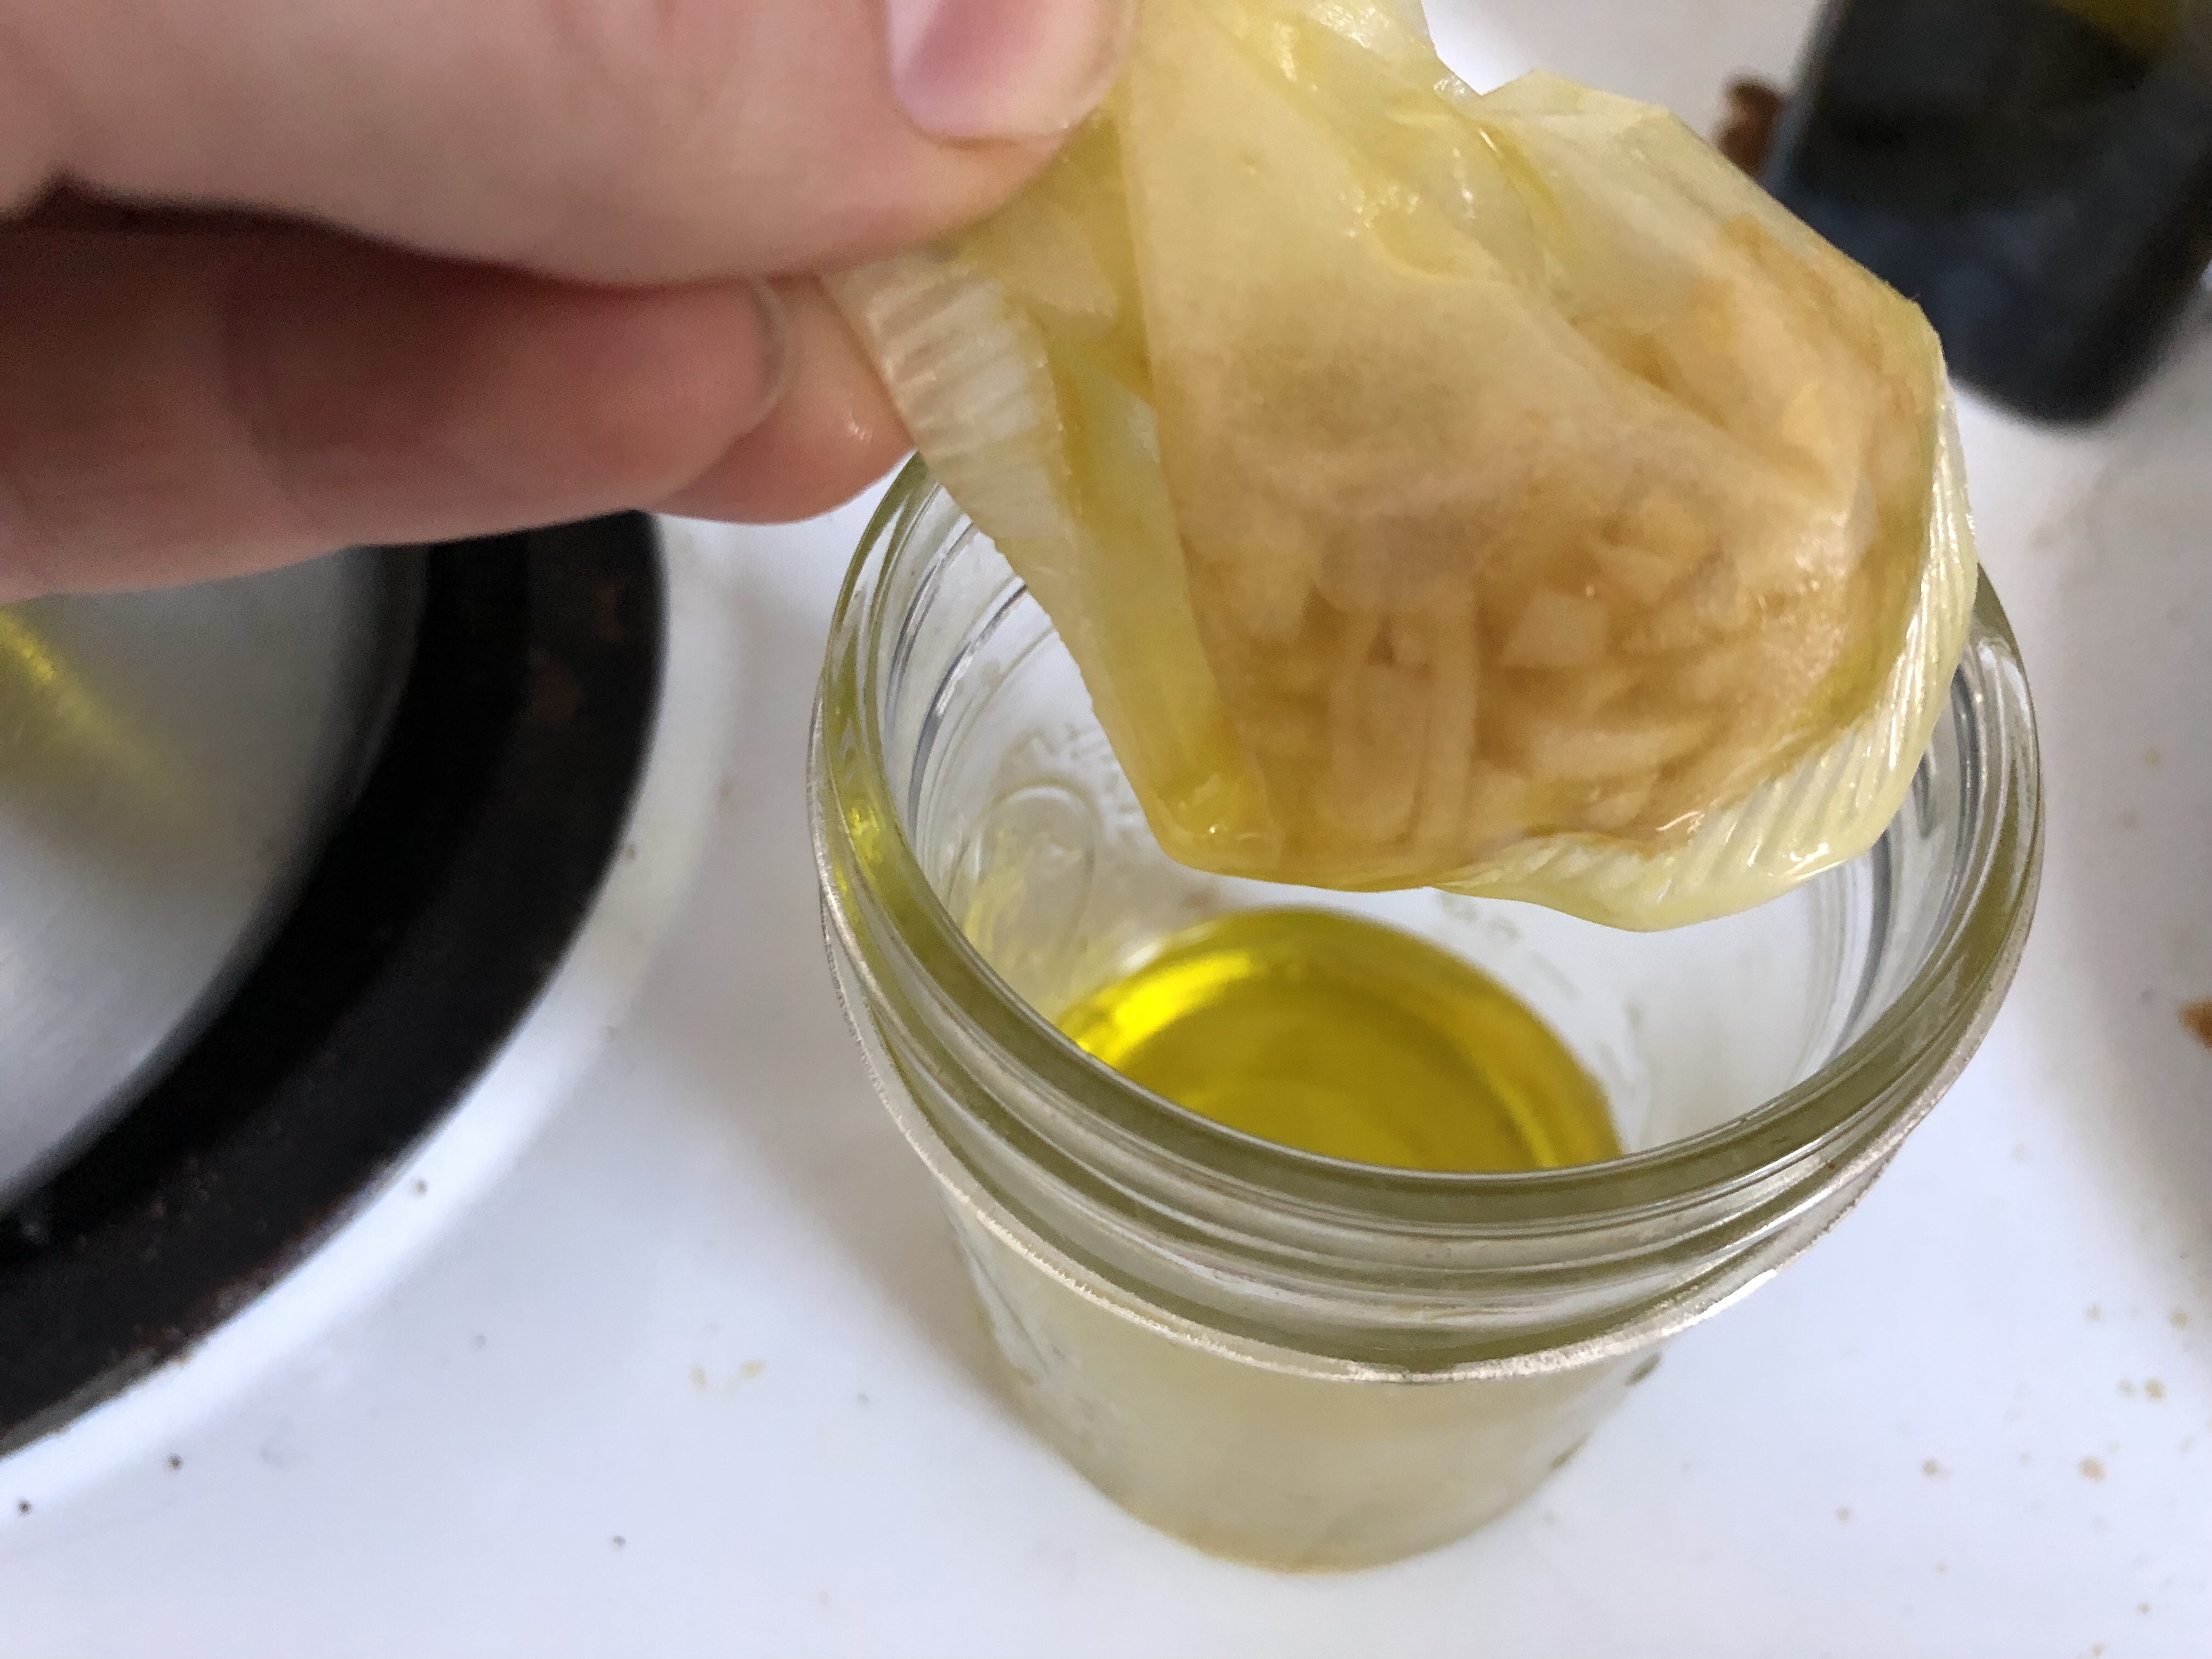
    Squeeeeeze.

    And that’s it. Here’s all the details.


    Stove Top Garlic Oil

    Ingredients & Materials

    • 4 cloves garlic
    • 4 tablespoons olive oil
    • coffee filter
    • mason jar OR brown bottle and a funnel
    • sauce pan
    • chop board and knife

    Directions

    1. Make sure all your equipment is clean and sterile.
    2. Chop up the garlic.
    3. Warm up the oil, keep it well away from browning.
    4. Cover and let it sweat for a good 20 minutes — keep that temp as low as possible.
    5. Place the coffee filter in the mason jar and strain the oil through it. It will take awhile for the oil to make it’s way through. Wash your hands thoroughly or wear gloves and then squeeze out any oil you can, making sure not to burst the filter.
    6. Discard the filter, you can save the garlic chunks and mix it into dinner if you want. Just don’t put it in the compost pile – oil is no good for compost.
    7. Lid and Label your jar with the date and what’s in it. Store it in the fridge for up to 4 days OR freeze it for up to several months.

    Think you want to store your garlic oil on the counter or in the fridge is “fine forever”… think again (I know I sure did). Here’s what the University of California says about garlic oil preparations. Yikes.

    So that my friends is the super easy way to make garlic oil for your culinary and apothecary needs. Just make sure to let it cool before it’s in contact with your skin. aka Don’t burn yourself.

    Until next time,

    Kristin M Roach